Quickstart Guide
Try out the features of JumpServer in 10 minutes or less.
Introduction
JumpServer is an open-source PAM tool (Bastion Host) that provides efficient and secure asset management and operation auditing capabilities. This guide will walk you through the quick installation and deployment of JumpServer, as well as basic operations such as creating users, assets, and authorizations, user login, connecting to assets, and auditing sessions and login logs.
Installing and Deploying
How to install JumpServer please refer to the Installation Docs.
Administrator Login
You have successfully installed JumpServer. You can now access the JumpServer service using your web browser by navigating to http://your-jumpserver-ip/. For the best experience, we recommend using Google Chrome.
Please log in using the default administrator credentials:
- Username:
admin - Password:
ChangeMe
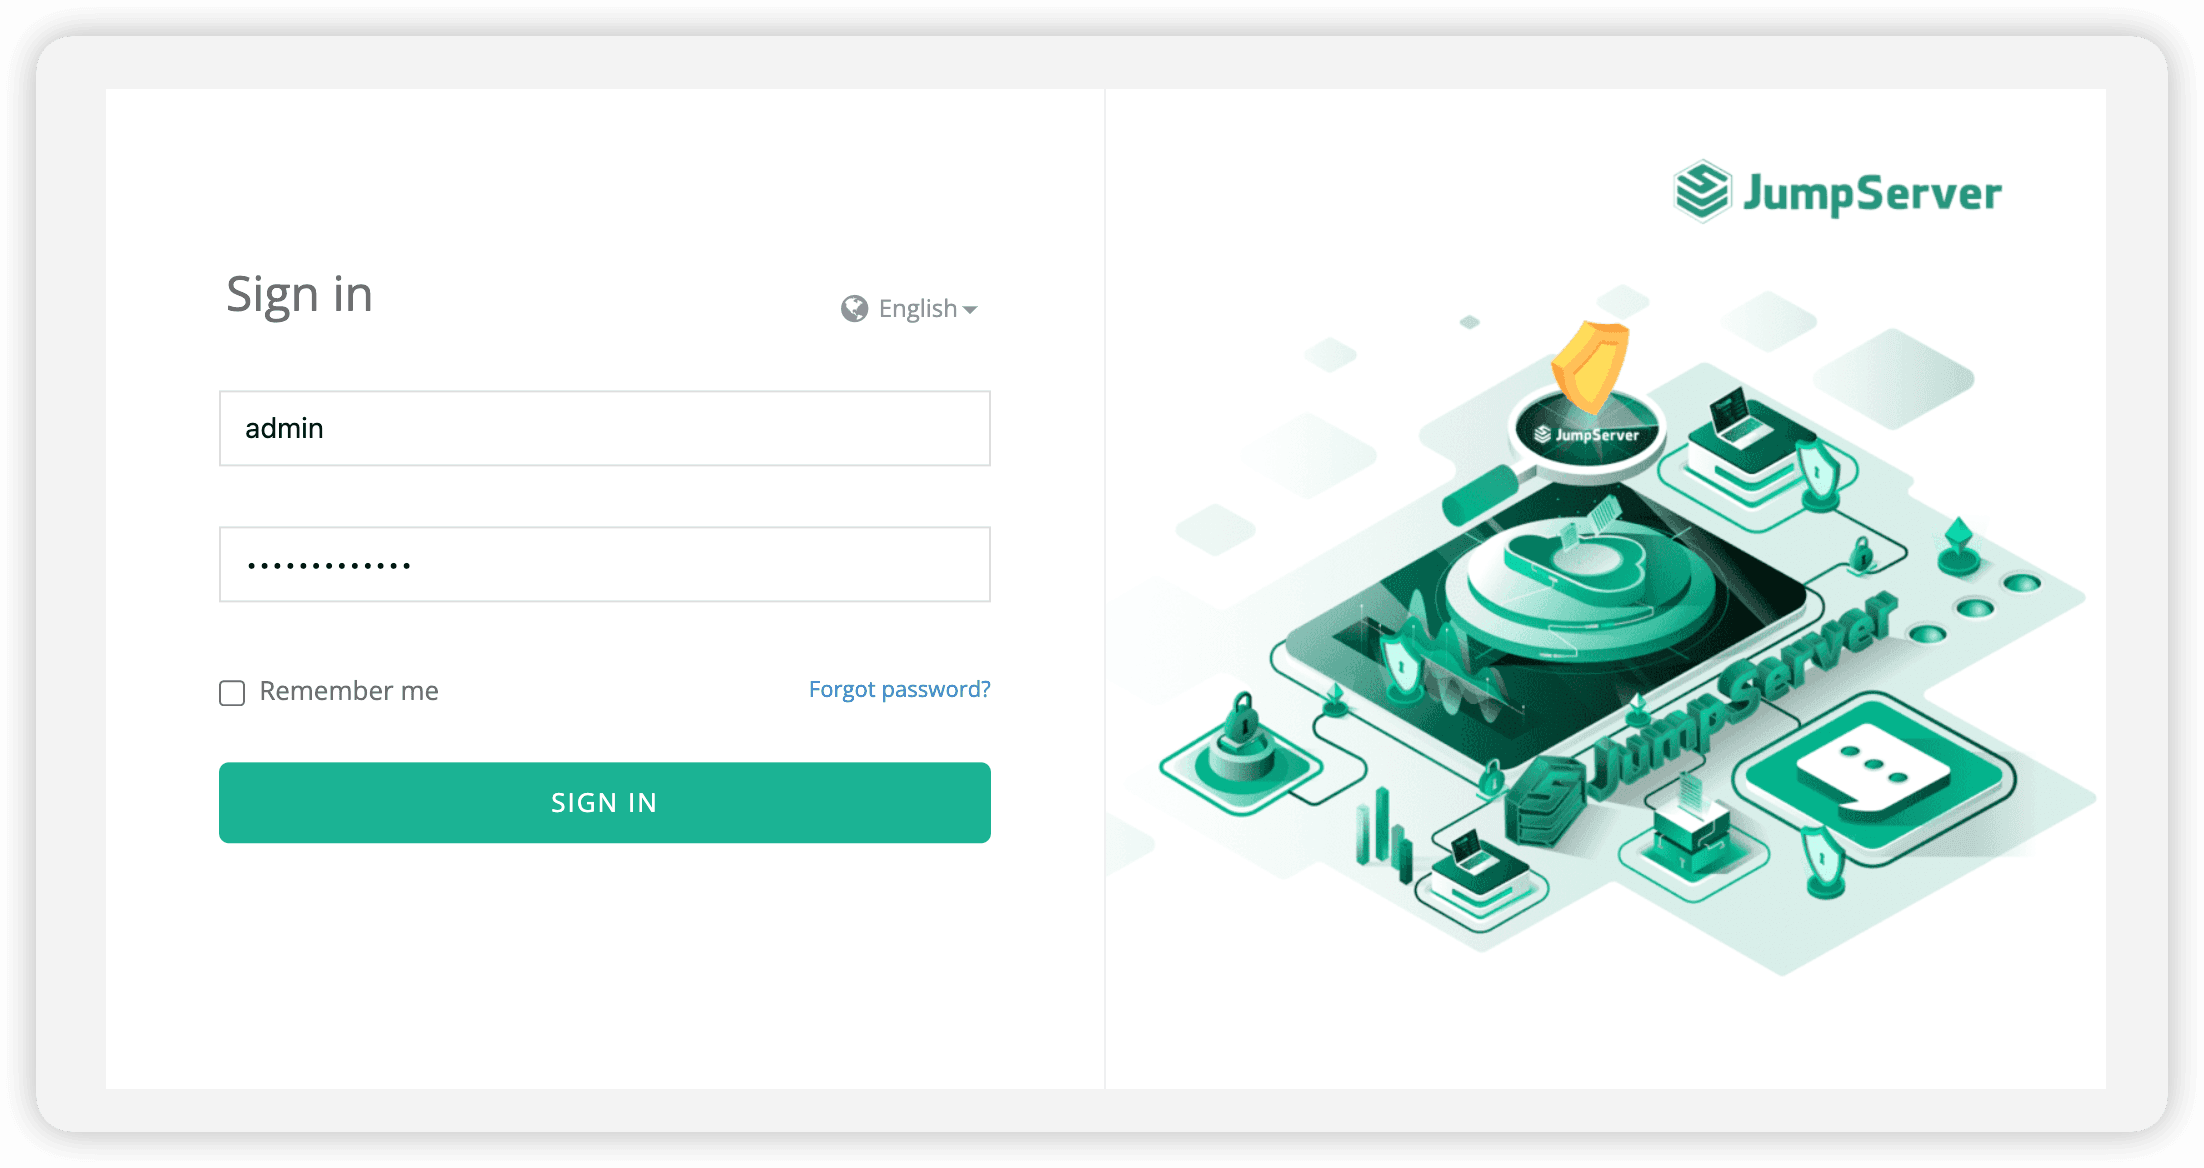
Upon your first login, you will be prompted to change your password. Simply make the change and log in again.
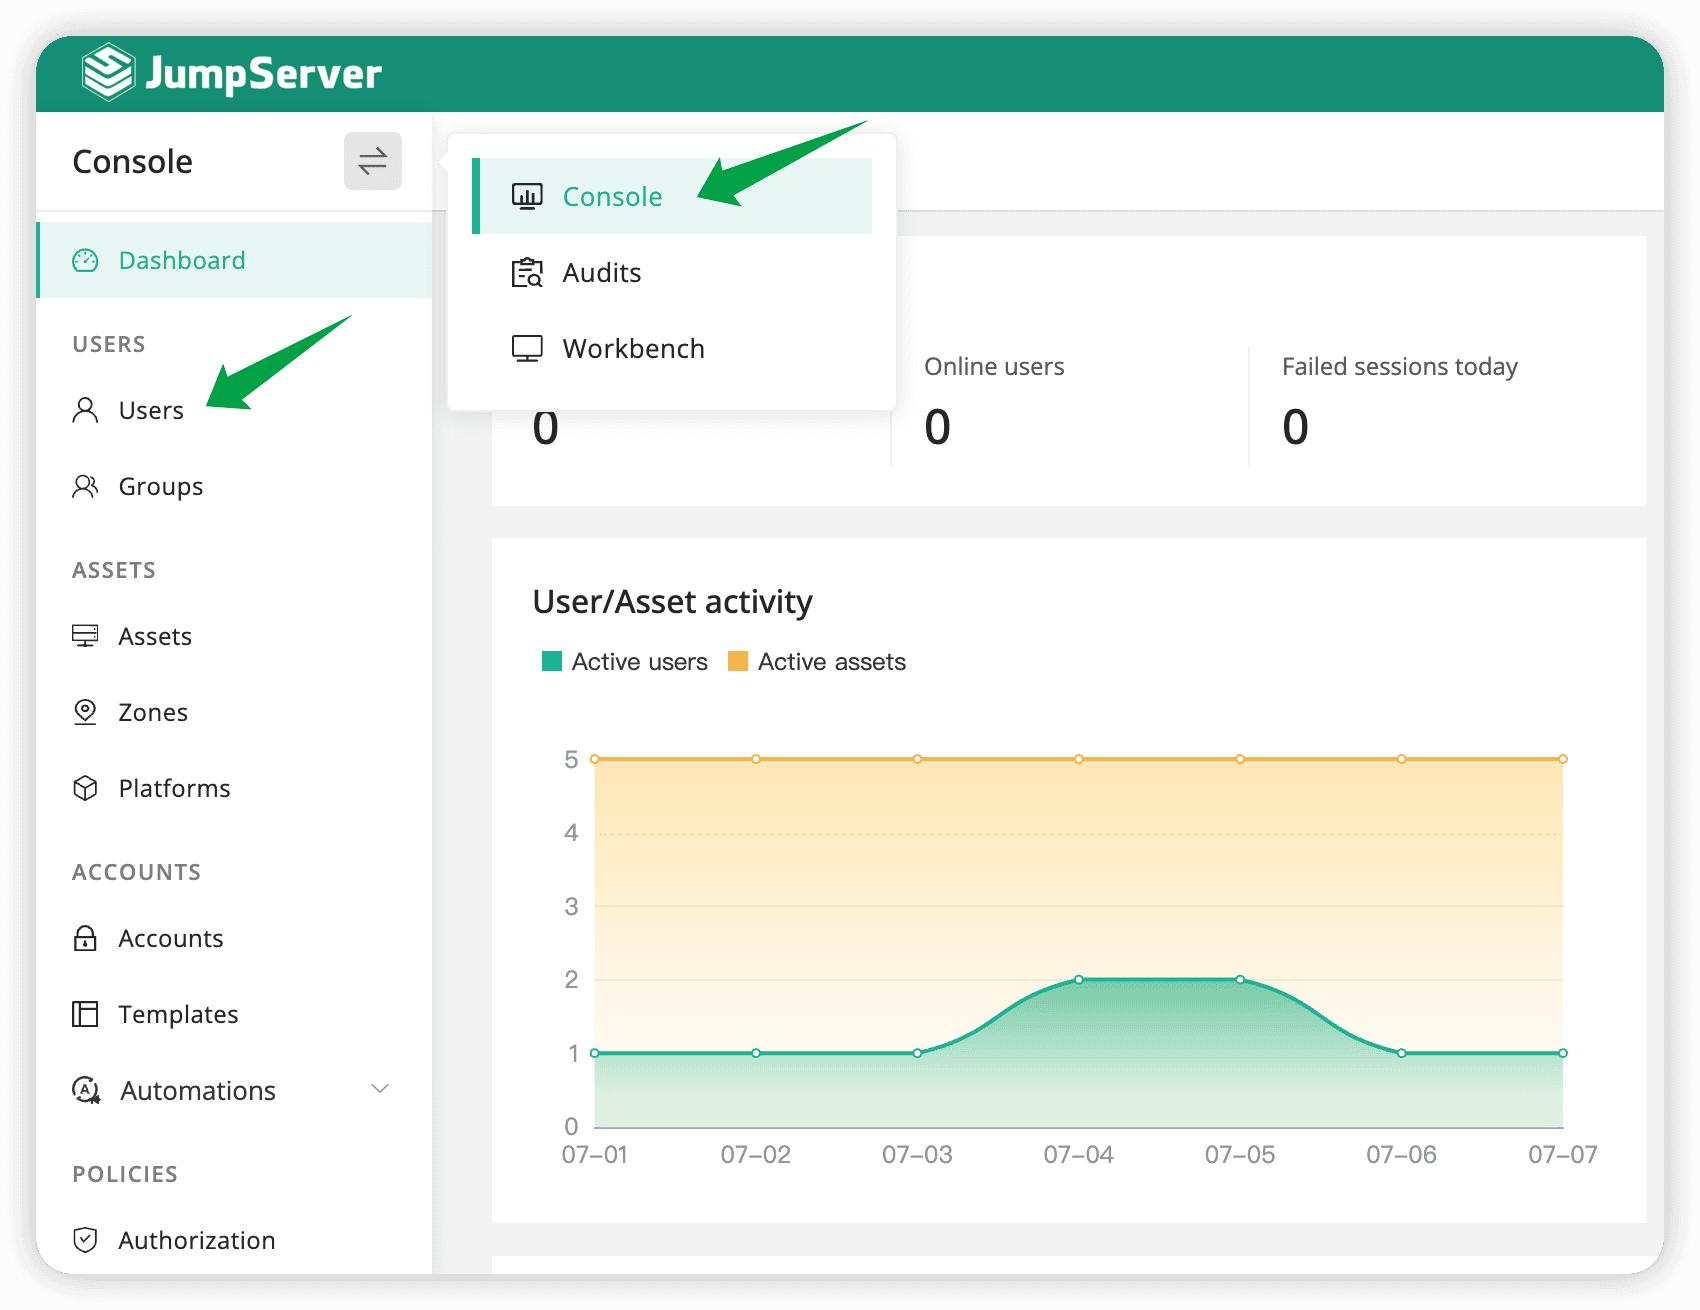
Create User
After logging in to JumpServer, let's create a user first:
- Navigate to the
Consoleand access theUser Managementpage.
-
Click the
+Createbutton. -
Fill in the user information.
- Name: First User
- Username: first_user
- Email: first-user@example.com
- Groups: Default
- Password setting: Set Password, and enter
pwd@123
Please keep the other information at their default values.
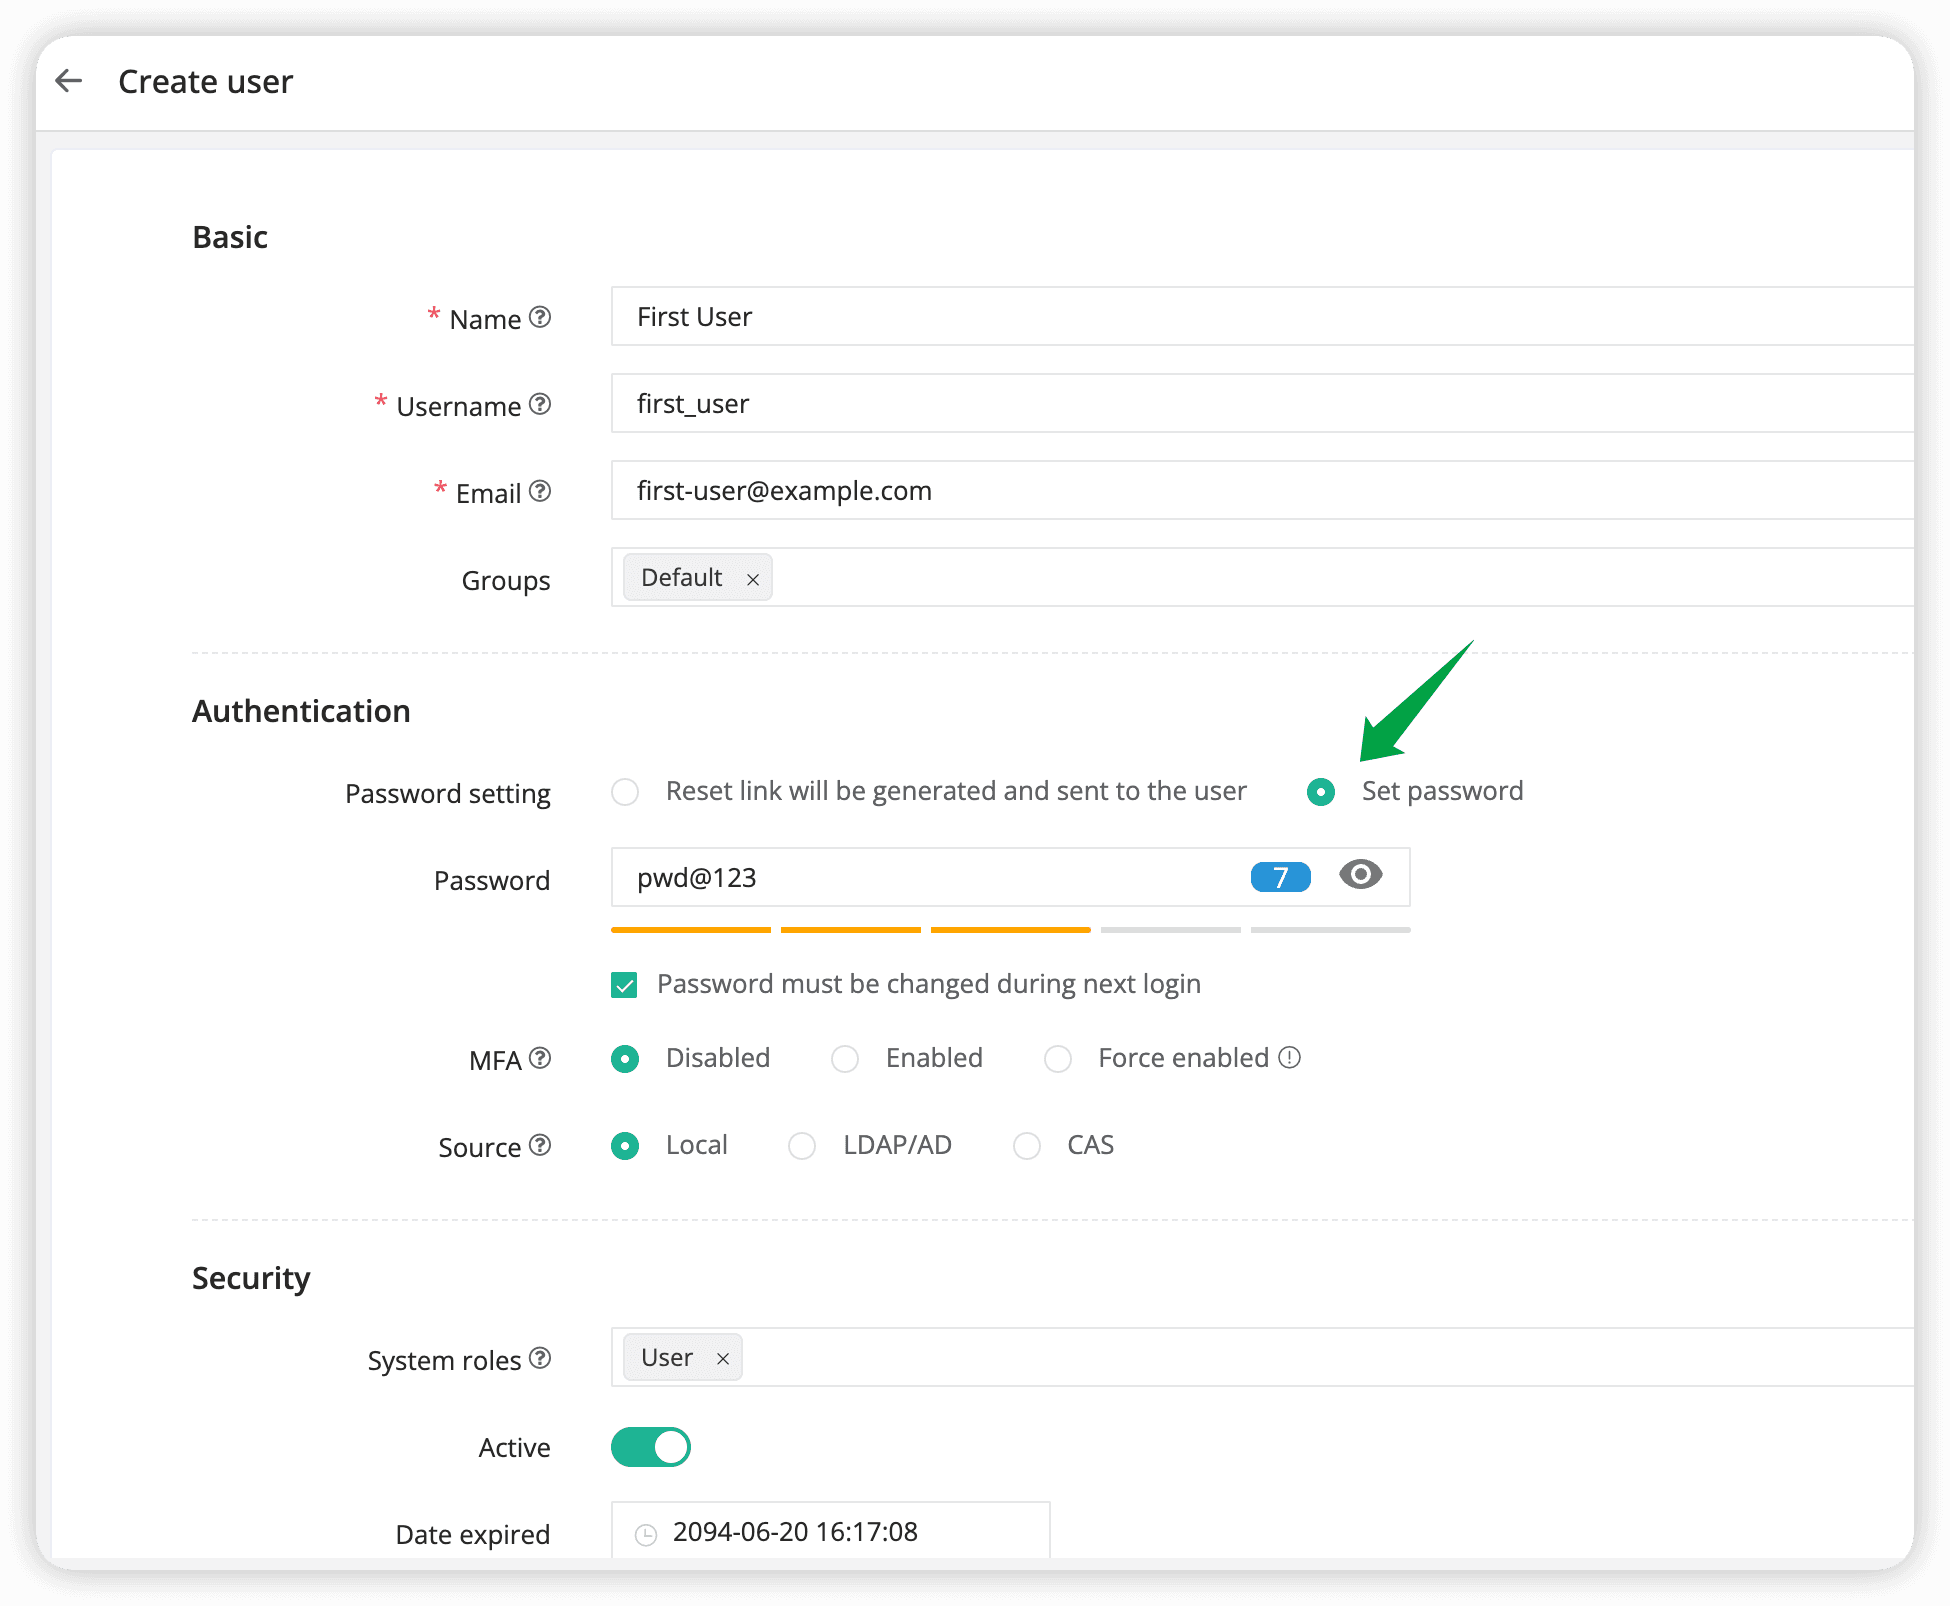
- Click "Submit" to complete the user creation.
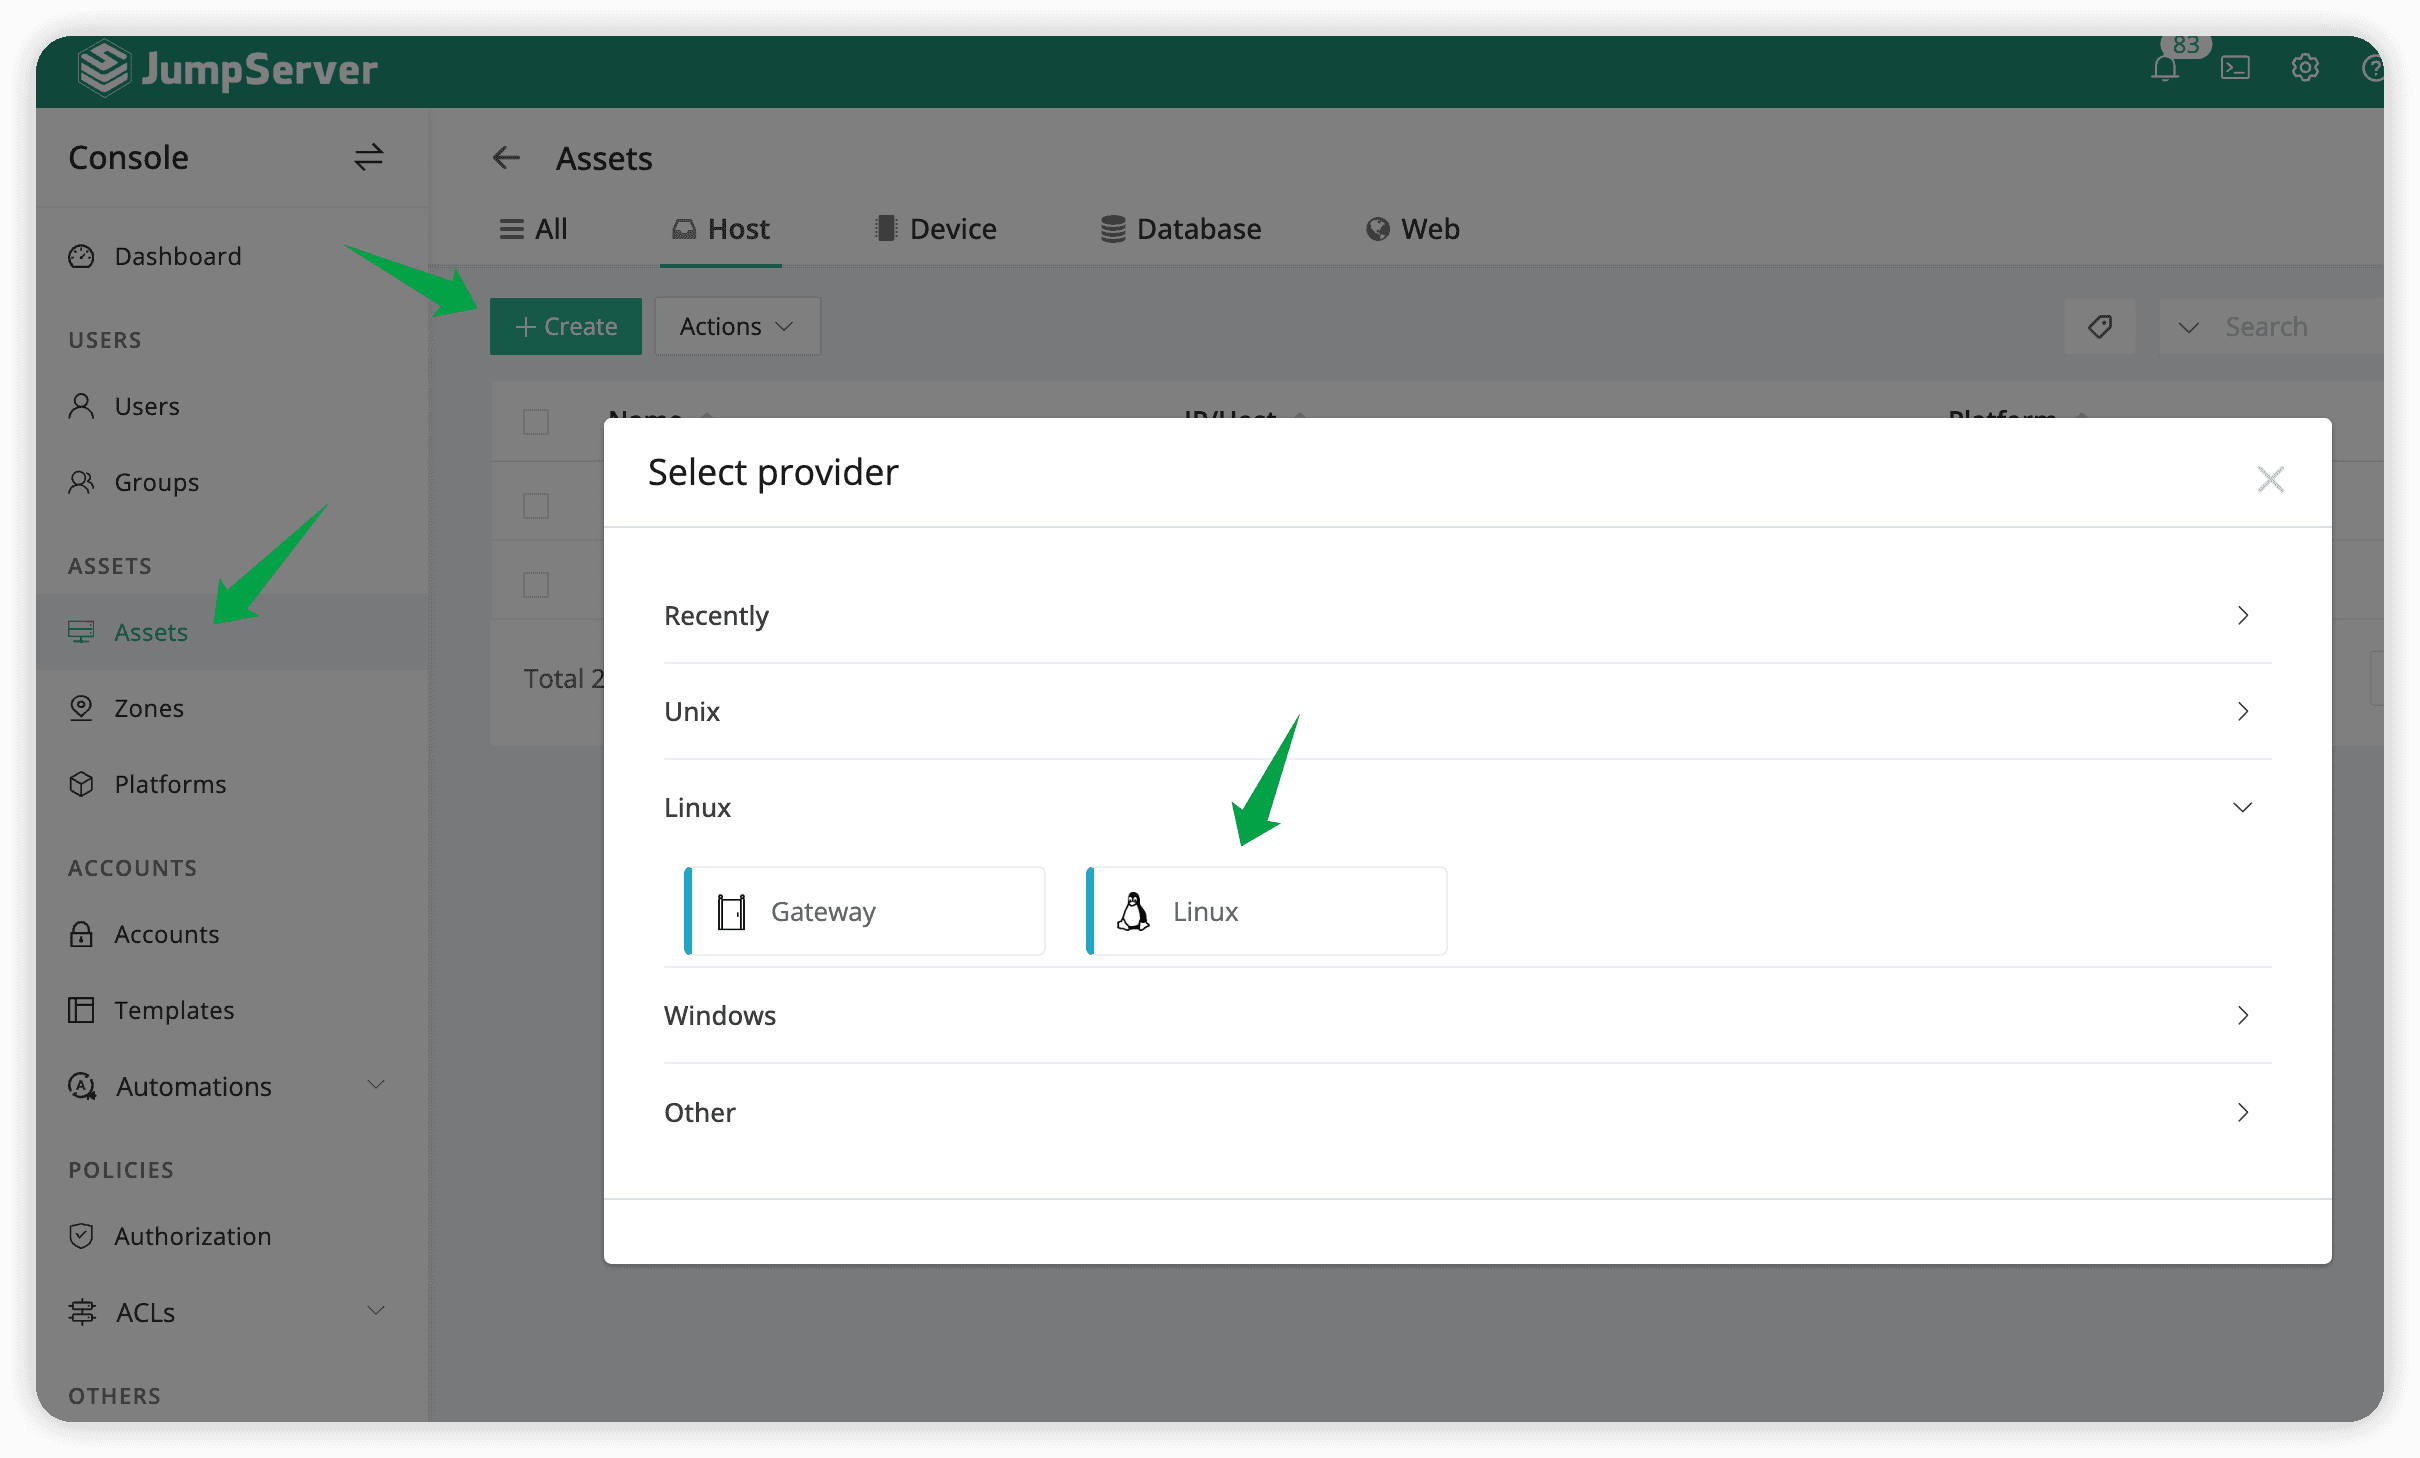
Create Asset
Next, let's create an Linux asset:
-
Navigate to the
Asset Managementpage. -
Switch to the
Hosttab, and click the+Createbutton. In the popup window, select the built-inLinuxplatform to open the host creation page.
- Fill in the asset information.
- Name: First User
- IP/Host: 172.17.200.27
- Platform: Linux
- Nodes: /Default
- Protocols: ssh/22, sftp/22
To Ensure Successful Connection in the Following Steps, please enter the correct IP/Host and SSH protocol port.
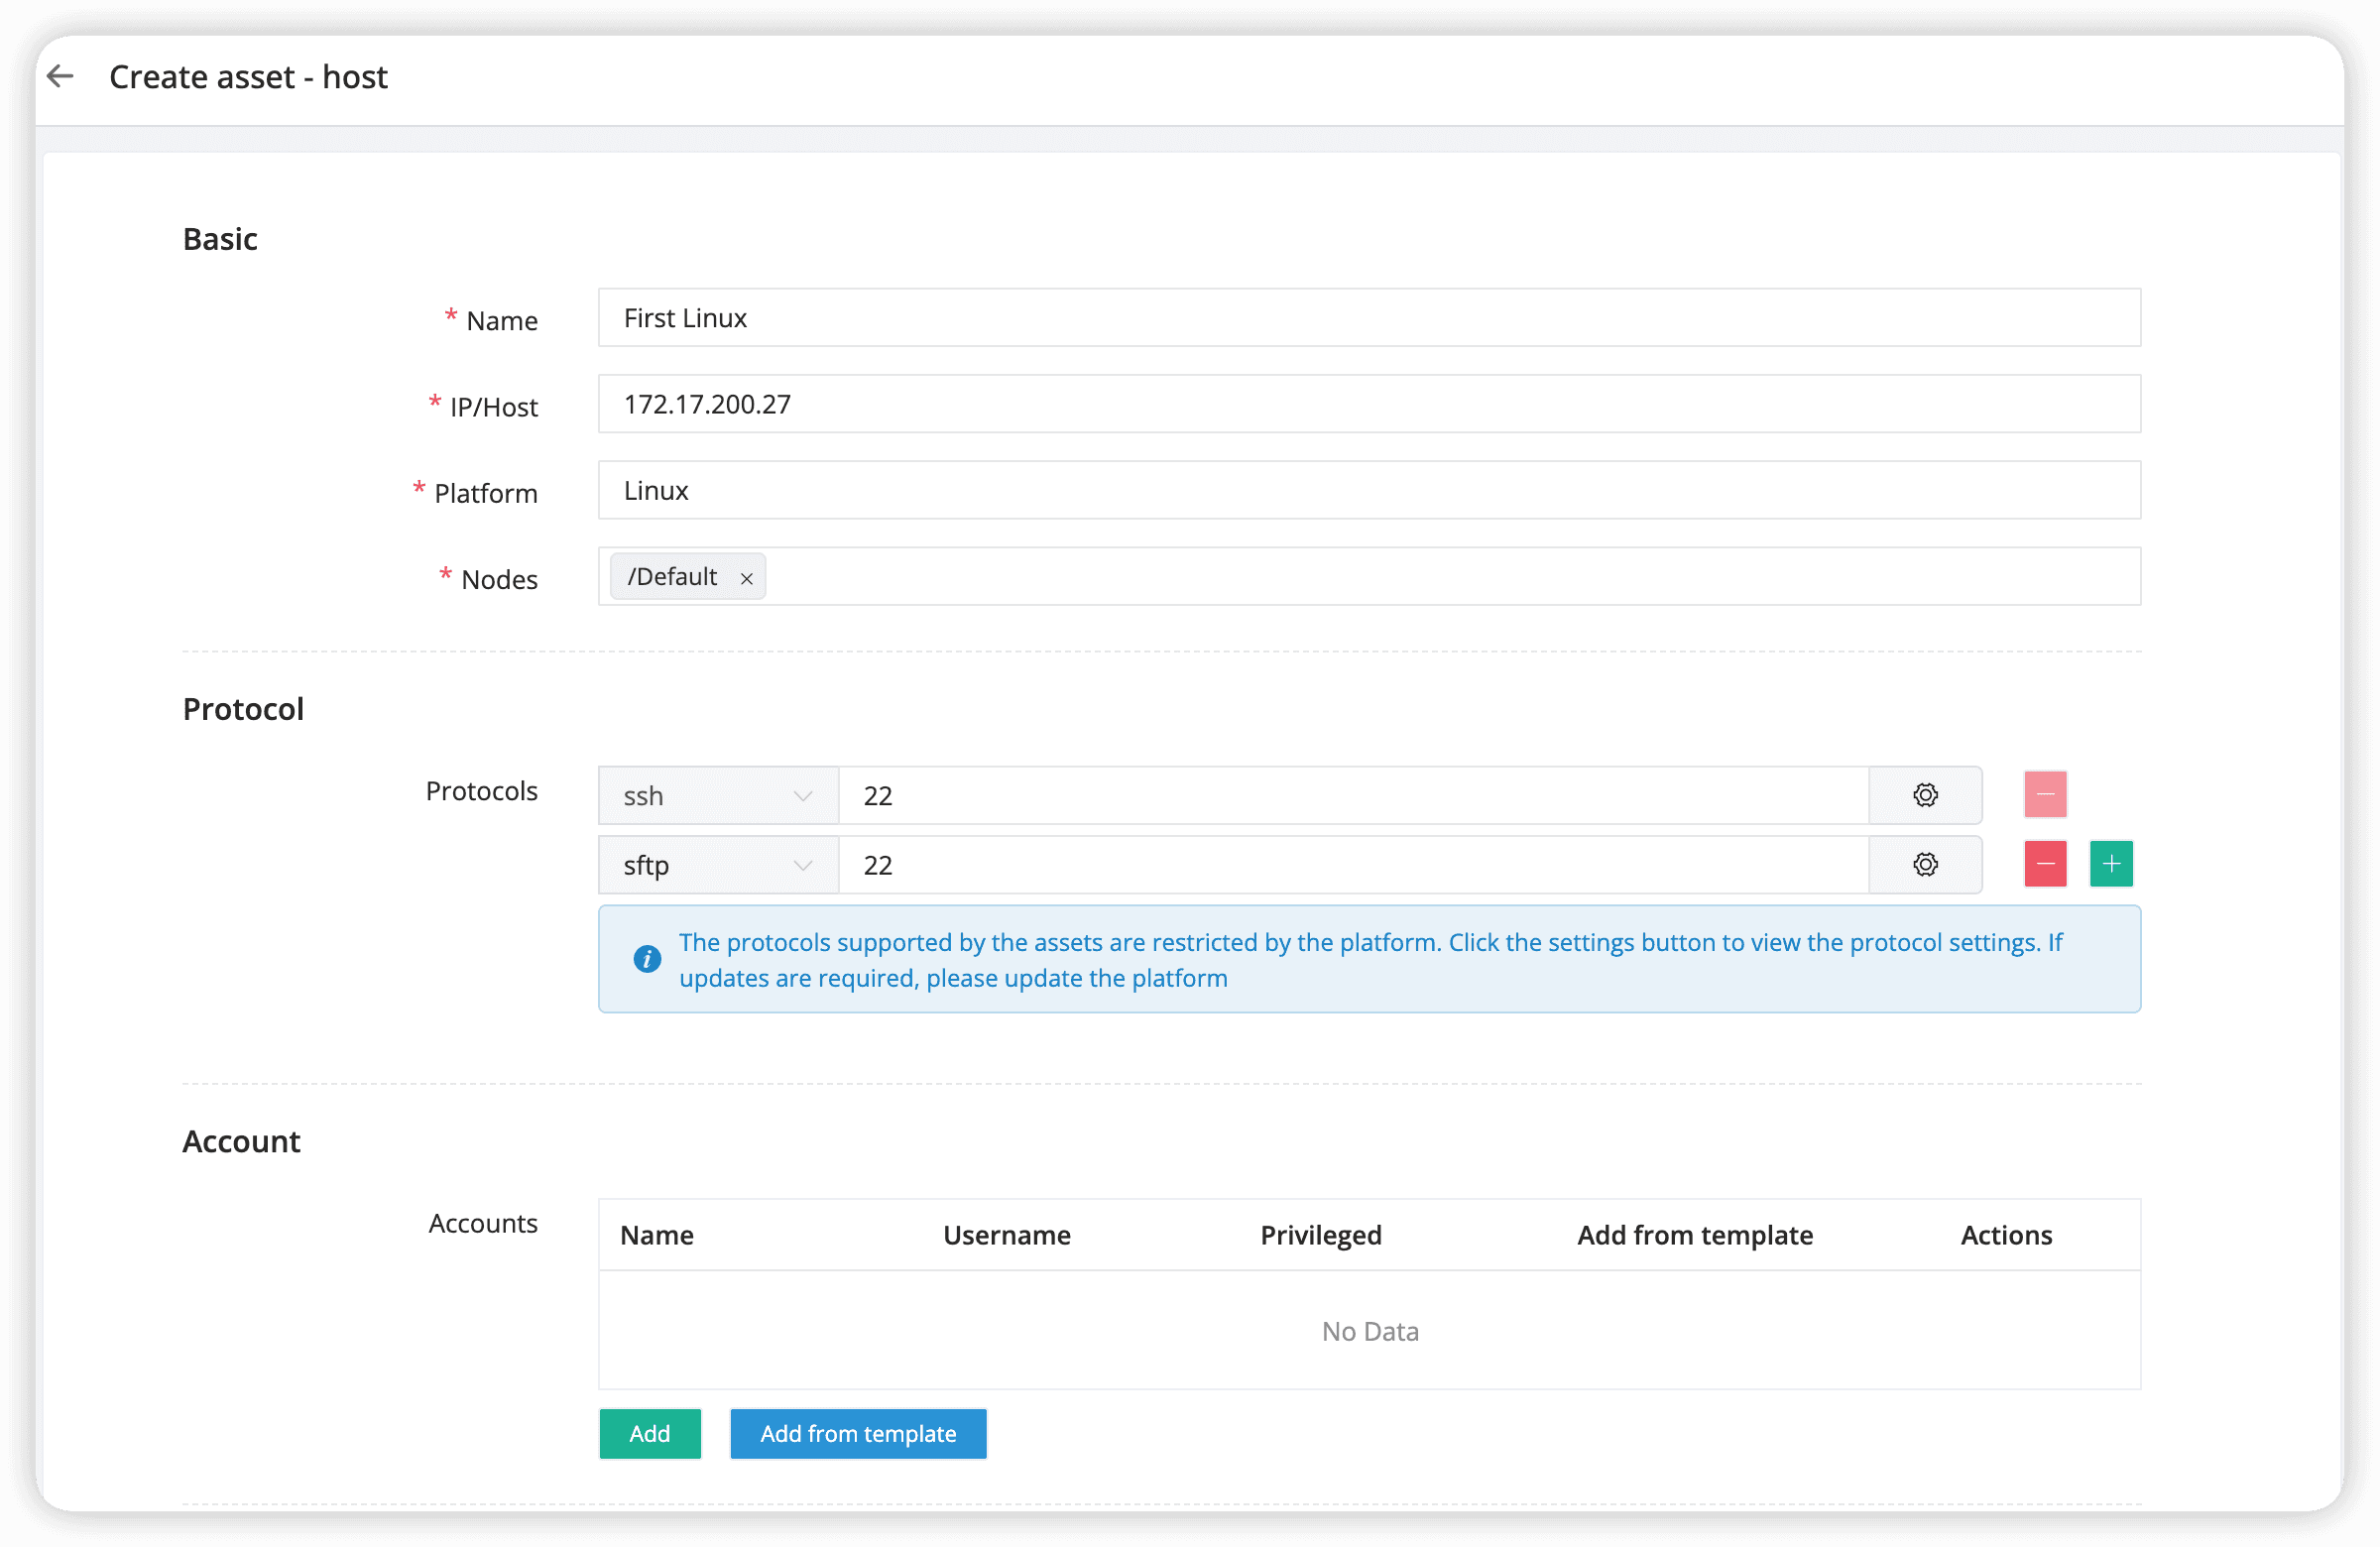
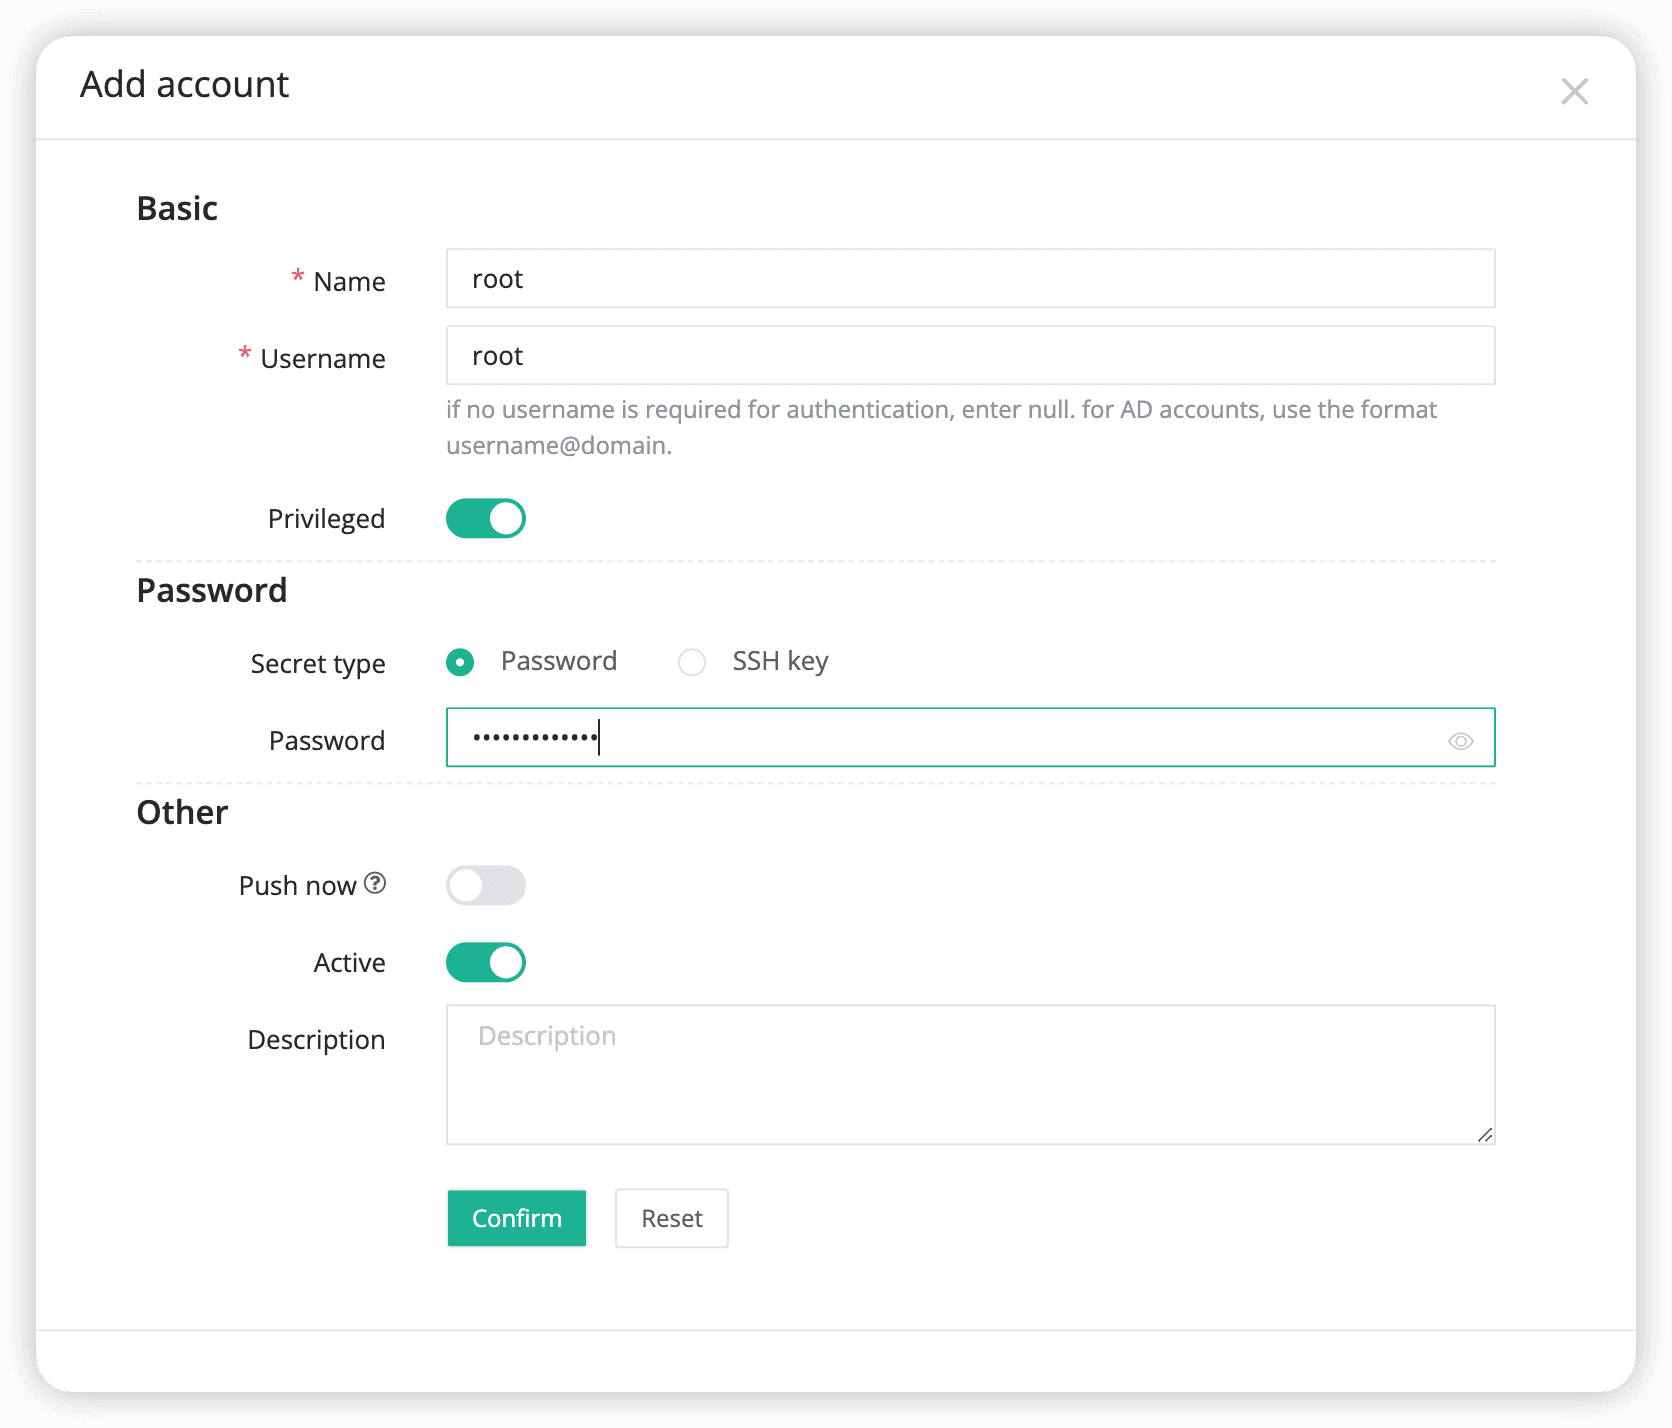
- Add an account to the asset.
Click the Add button in the Accounts section to add an account. In the popup window, enter the correct Name, Username, and Password. Keep the other information as default. Click Confirm to complete the account addition.
- Name: root
- Username: root
- Password:
your-password
- Click
Submitto complete the asset creation.
Create Authorization
Finally, let's create an authorization.
- Navigate to the
Authorization Managementpage.
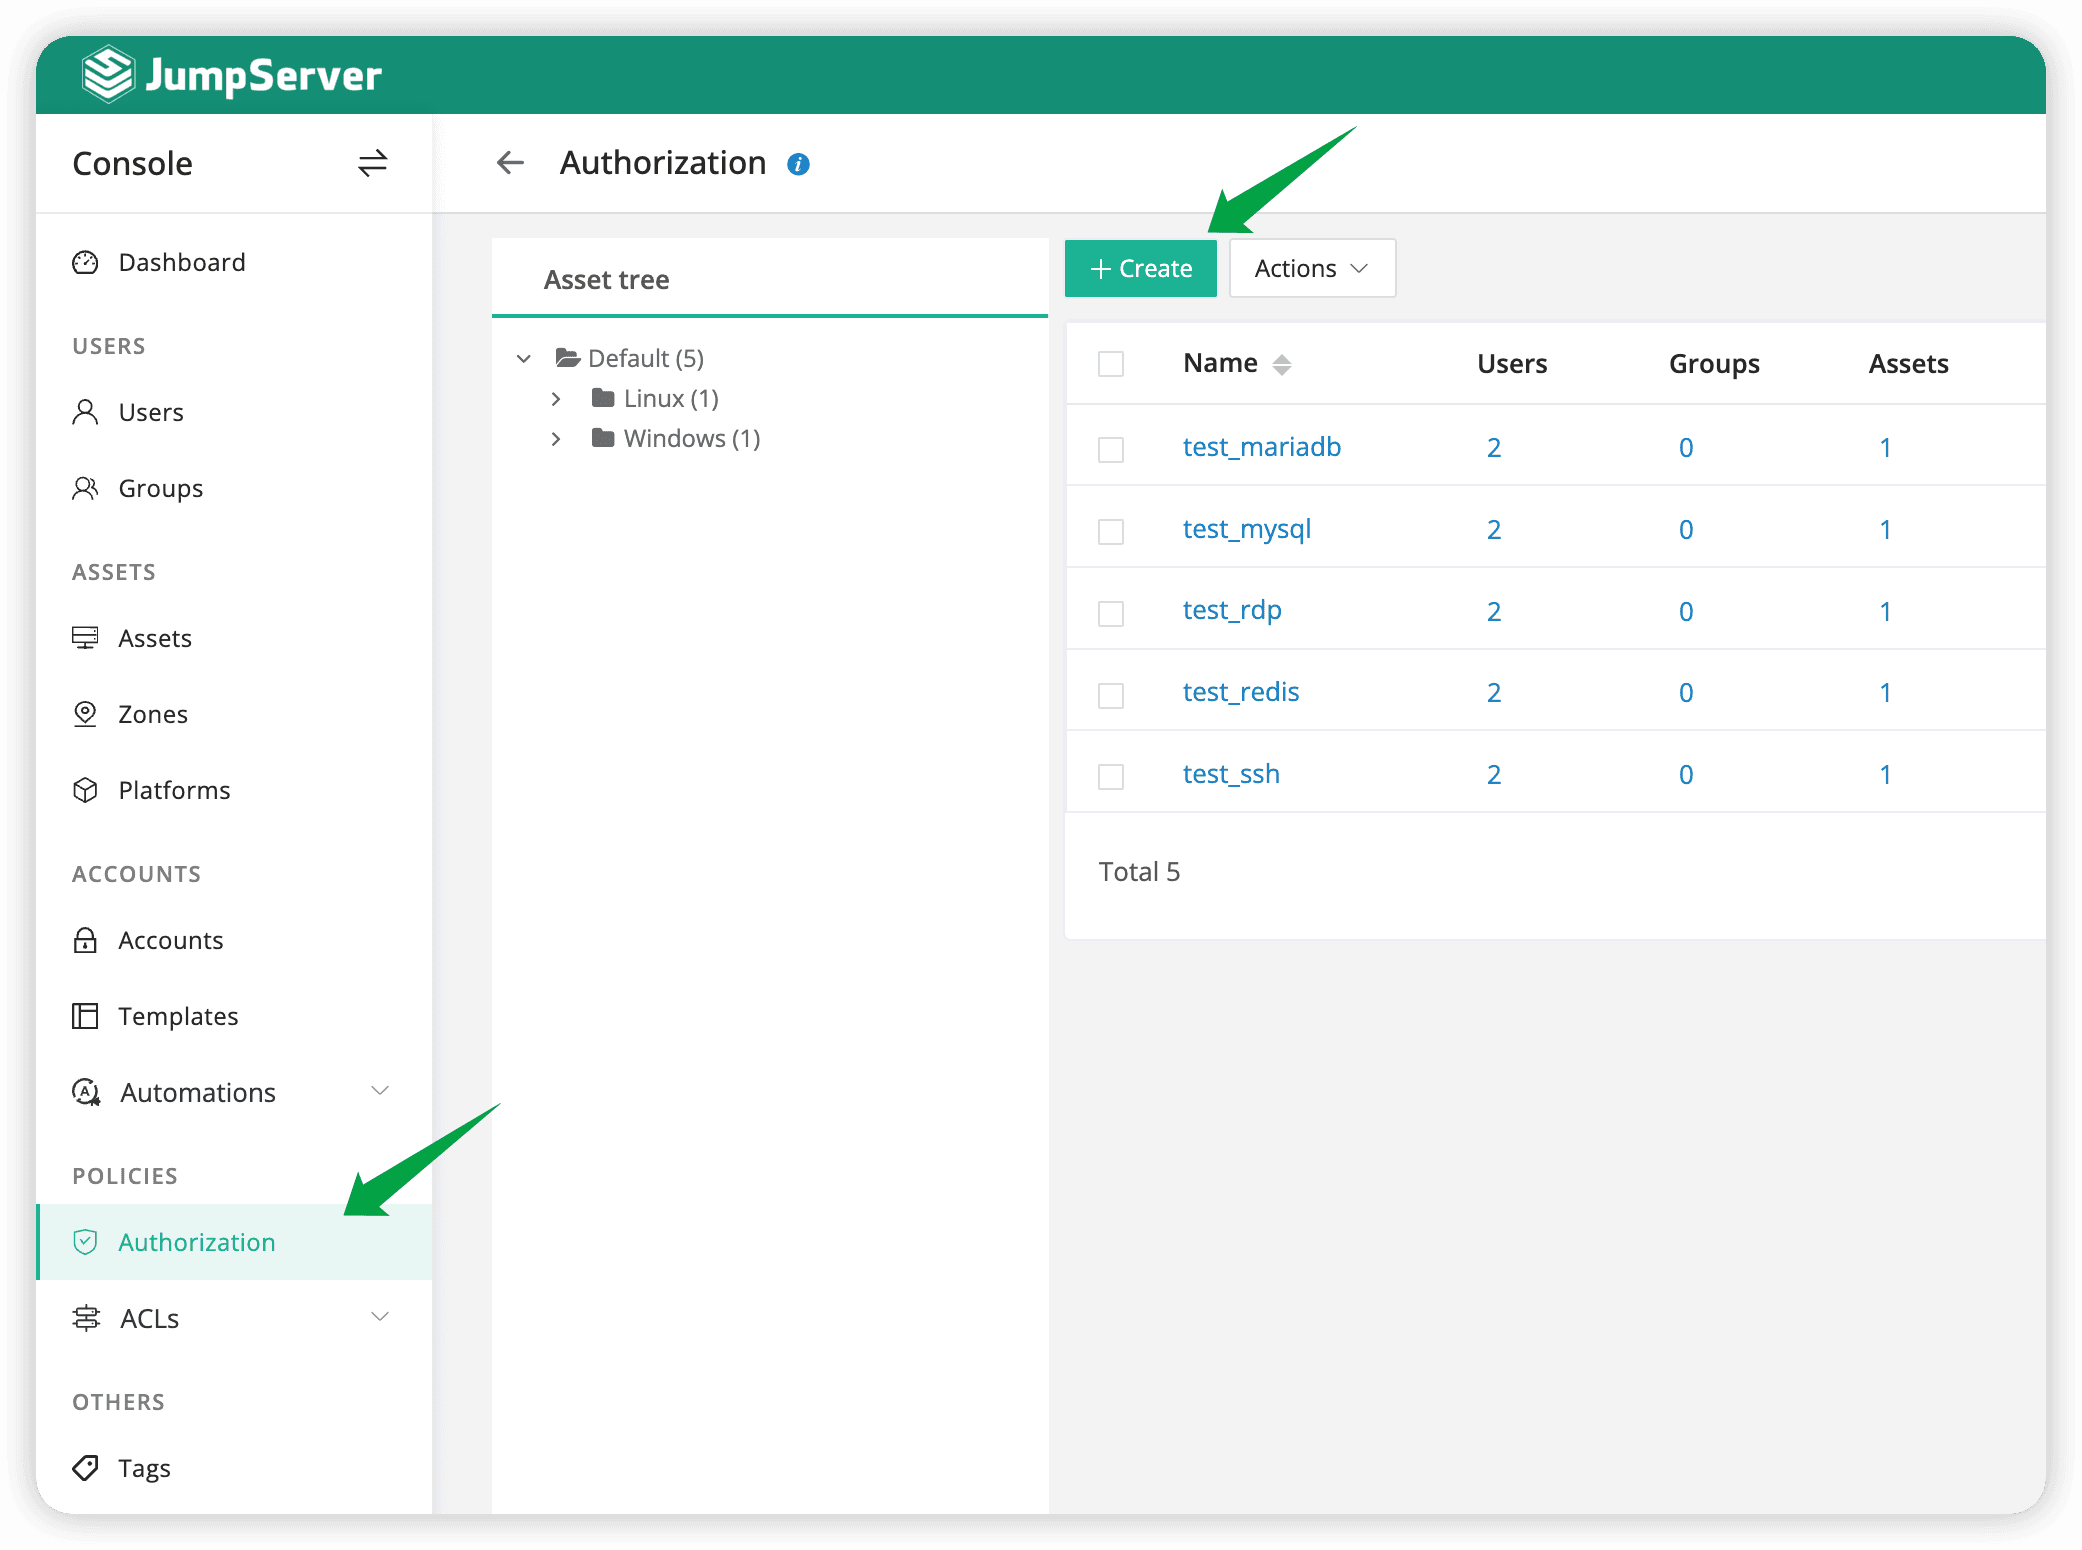
-
Click the
+Createbutton. -
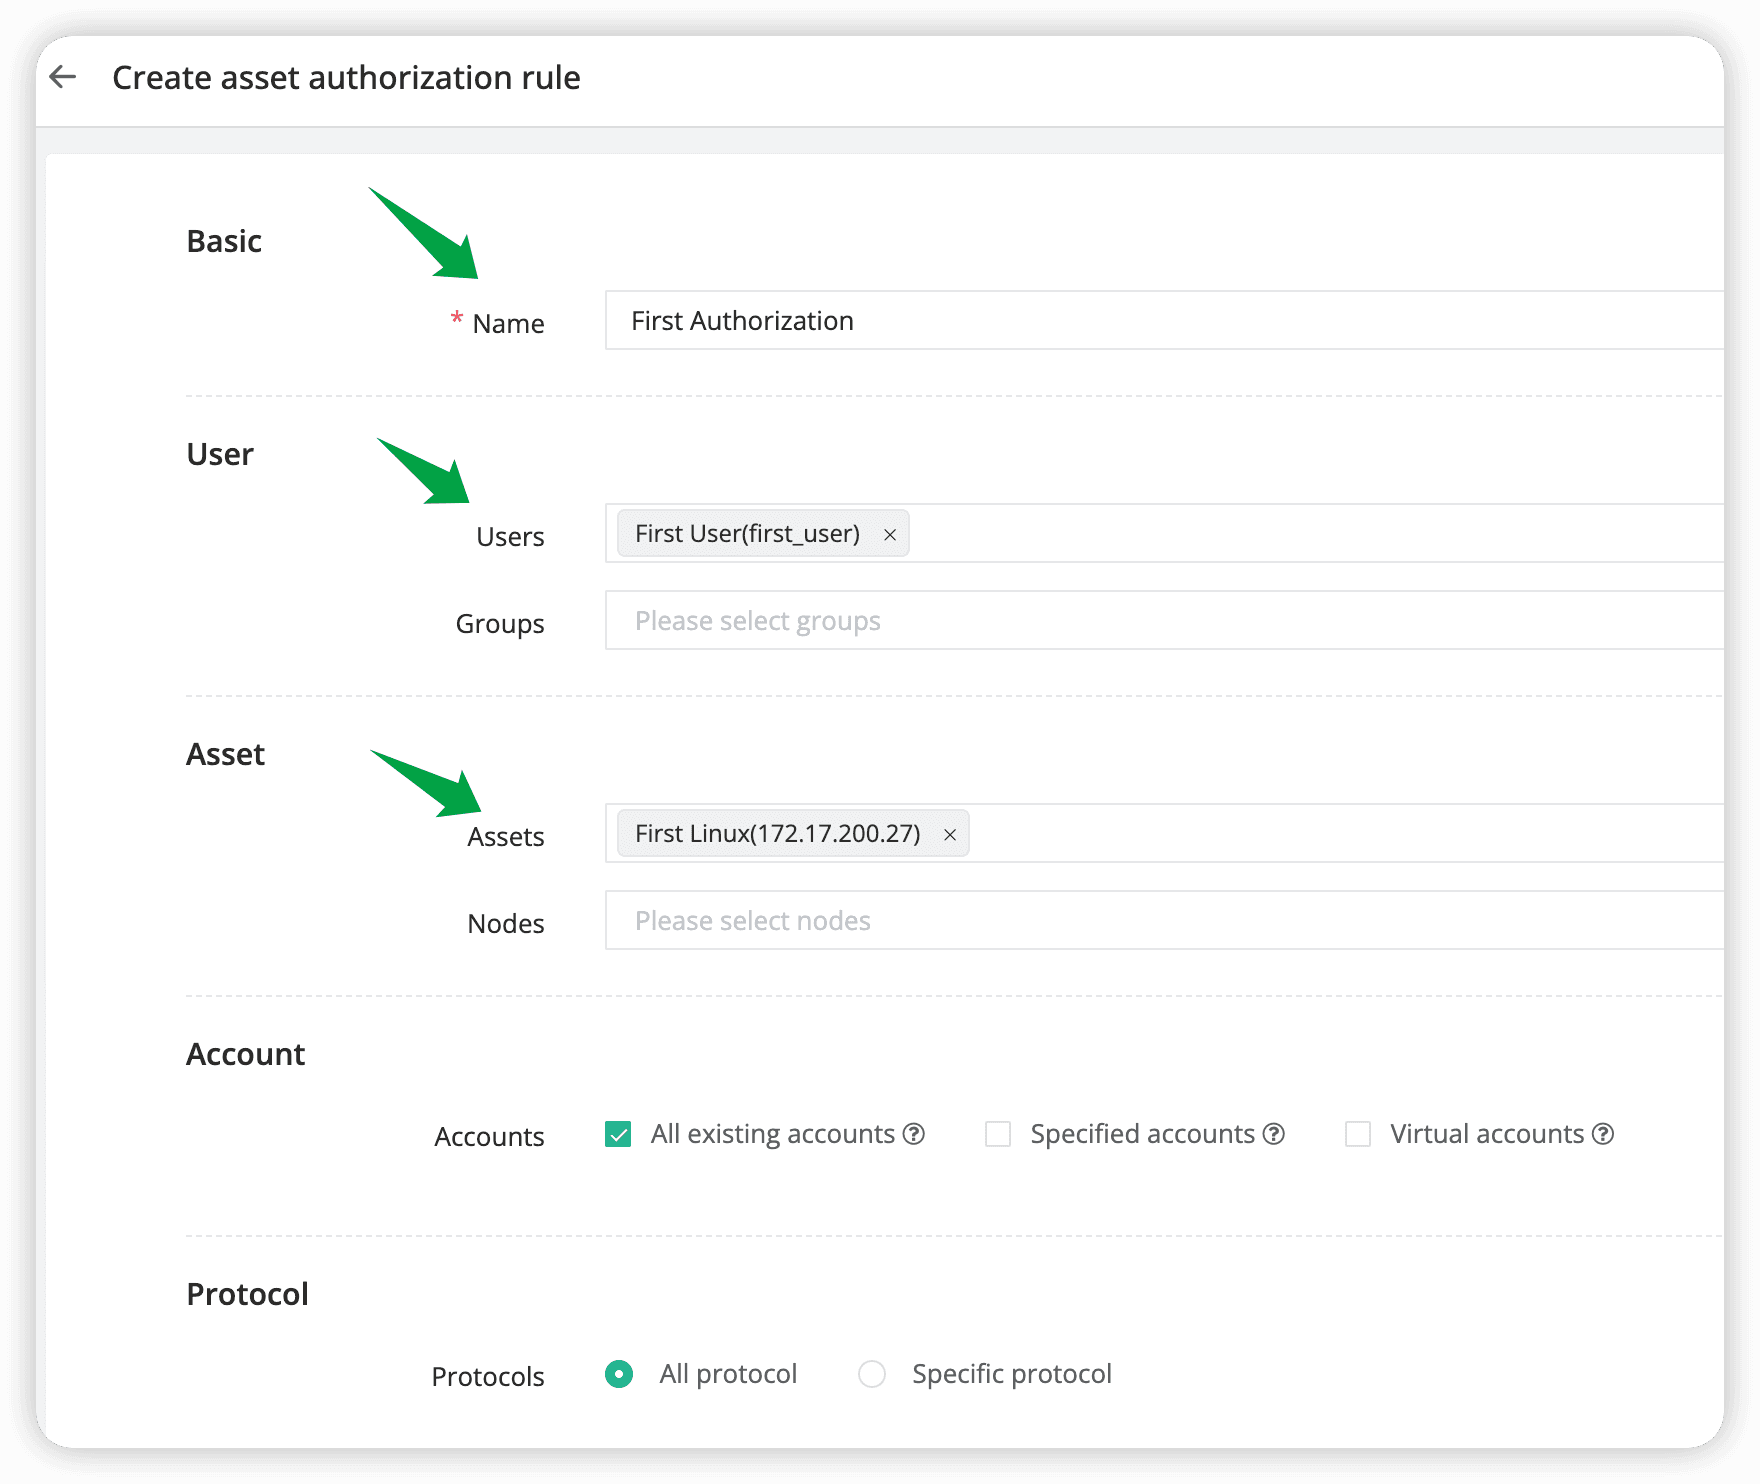
Fill in the authorization information.
- Name: First Authorization
- Users: Select
First User- Assets: Select
First Linux
Keep the other information as default.
- Click "Submit" to complete the authorization creation.
User Login
Excellent, we have successfully created one user and one asset, and authorized the asset for the user. Next, let's proceed to log in to JumpServer using the user First User.
-
To log in simultaneously with both the
AdministratorandFirst User, please open a new browser window in incognito mode. -
After logging in with the username
first_userand passwordpwd@123, you will be prompted to reset your password. Simply follow the steps to reset your password, and then log in again using the new password. -
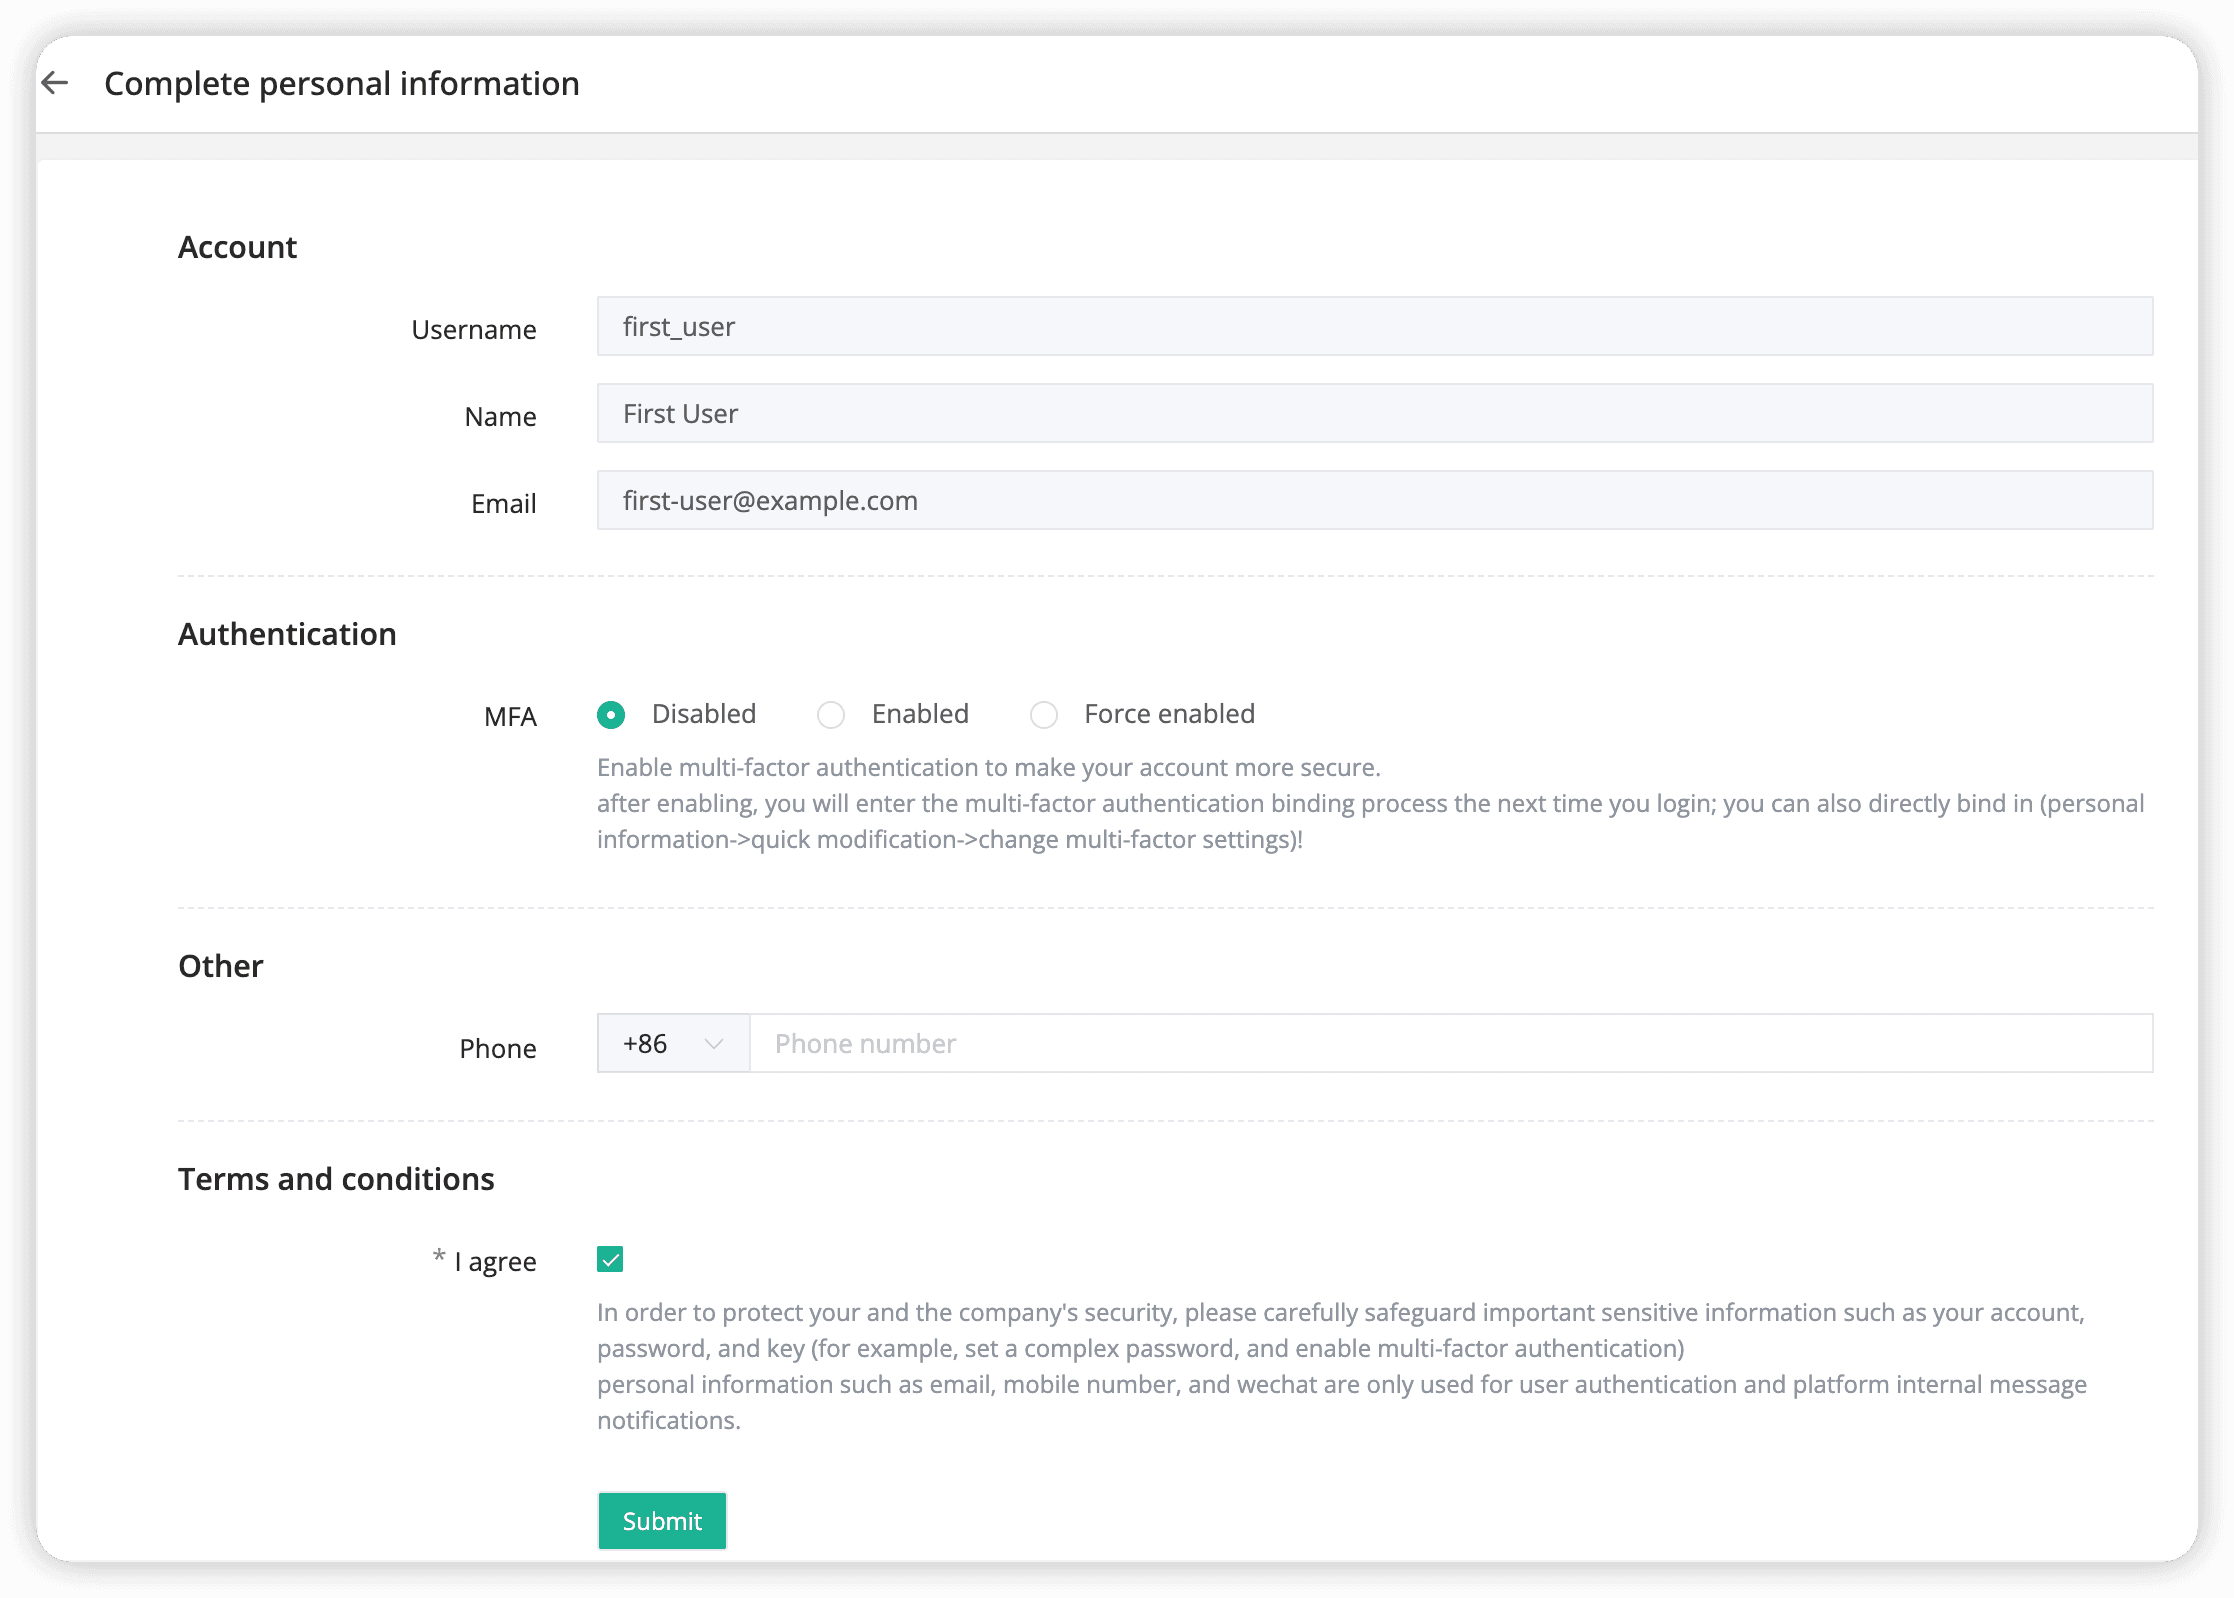
After successfully logging in, you will see a page to
complete personal information. Check "I agree" and clickSubmit.
- Navigate to the
Workbench > Access assetspage, where you can view the assets authorized to you. Here, you will see that the asset namedFirst Linuxhas been authorized to you.
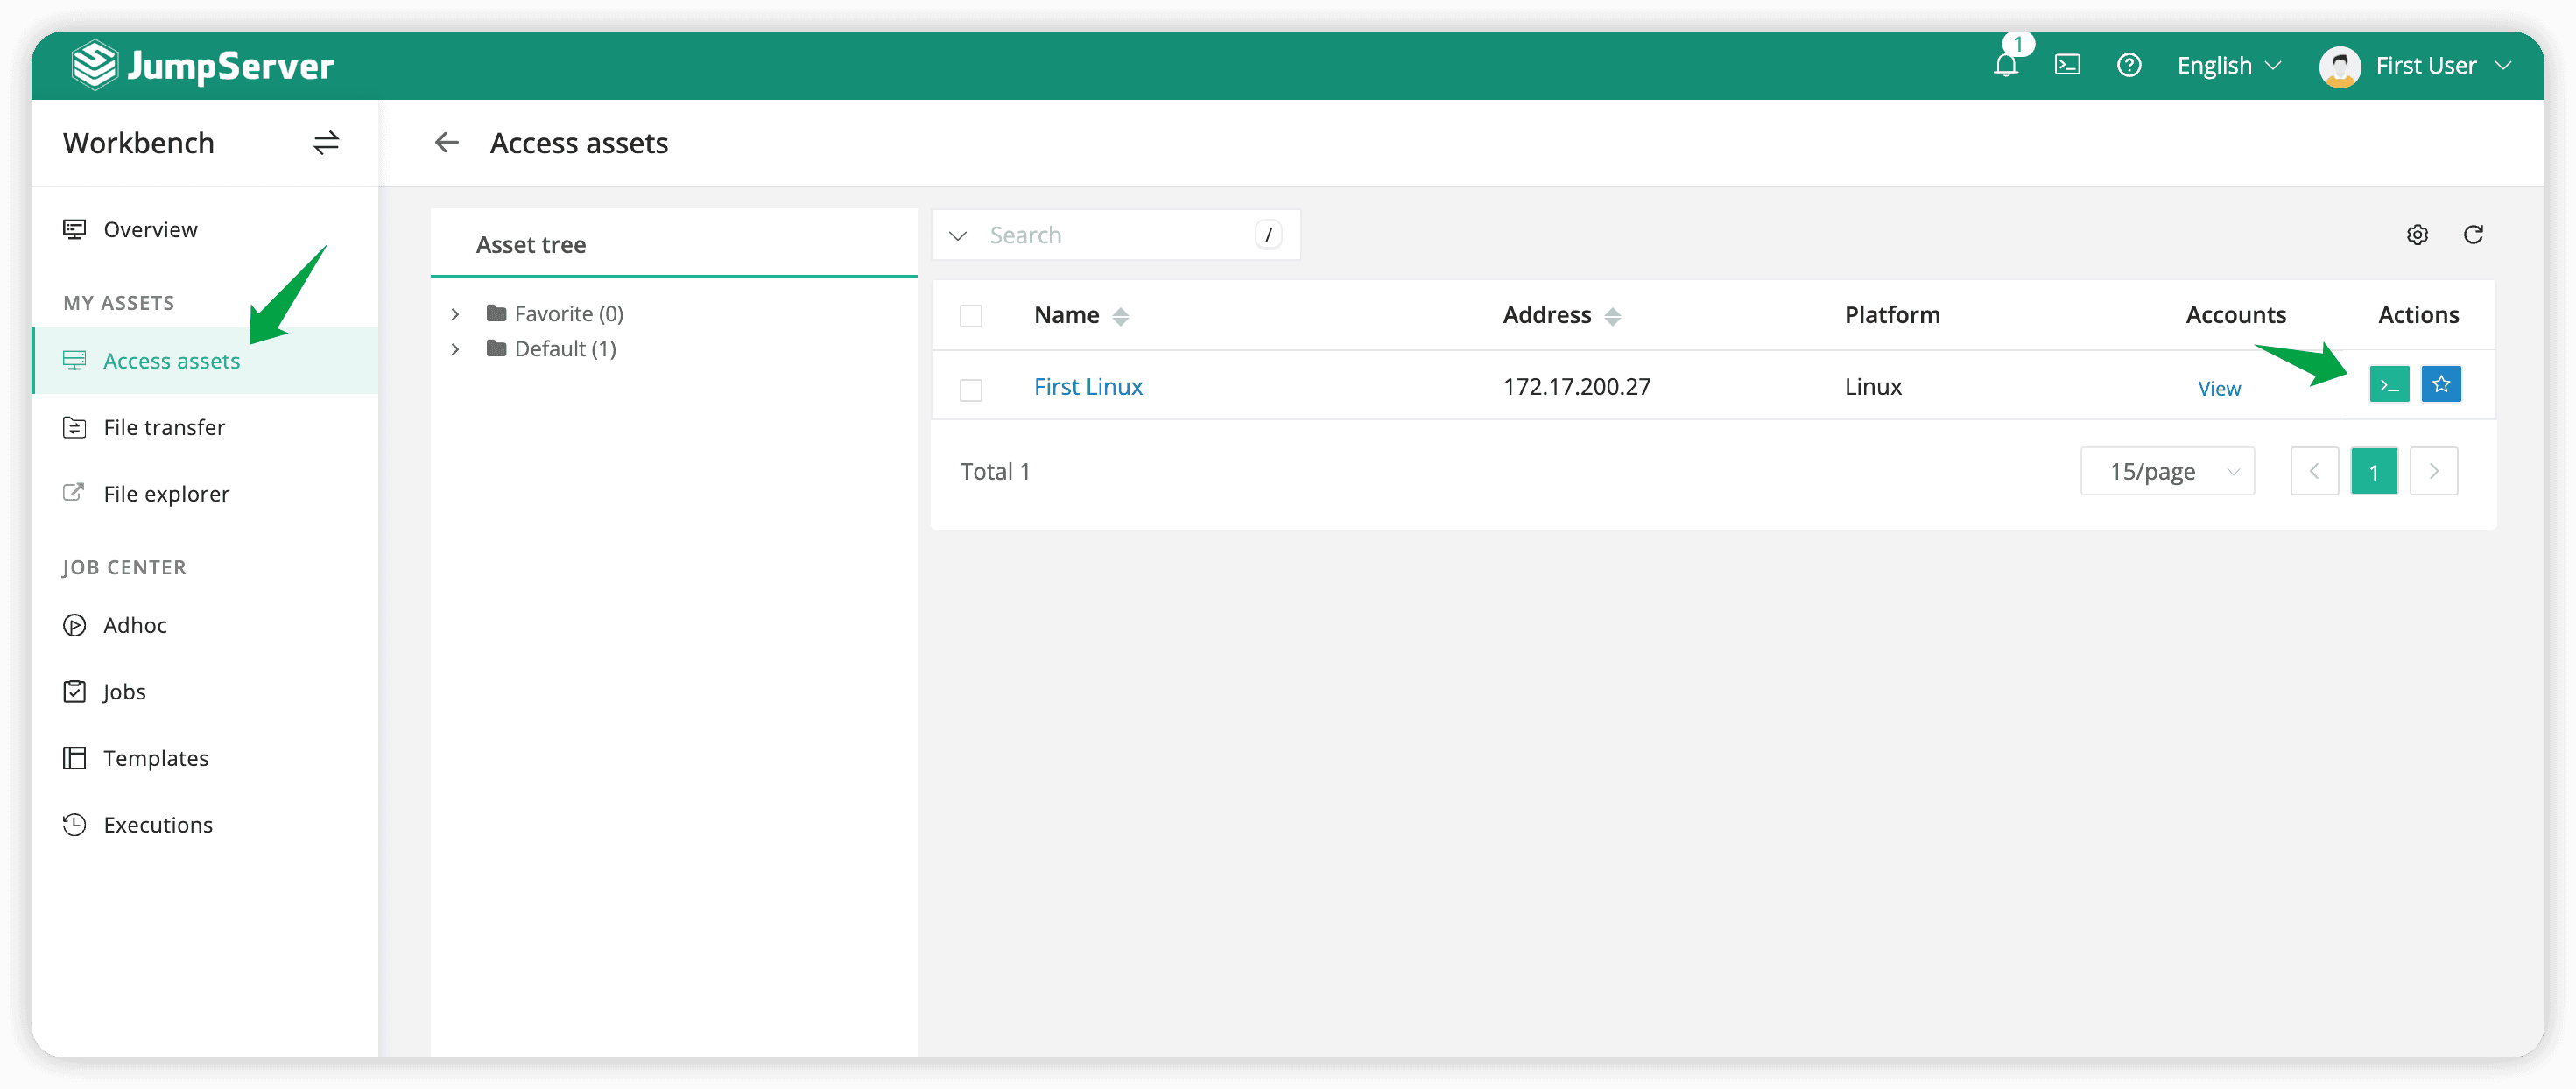
Simply click the Connect button here to access the asset.
Access Asset
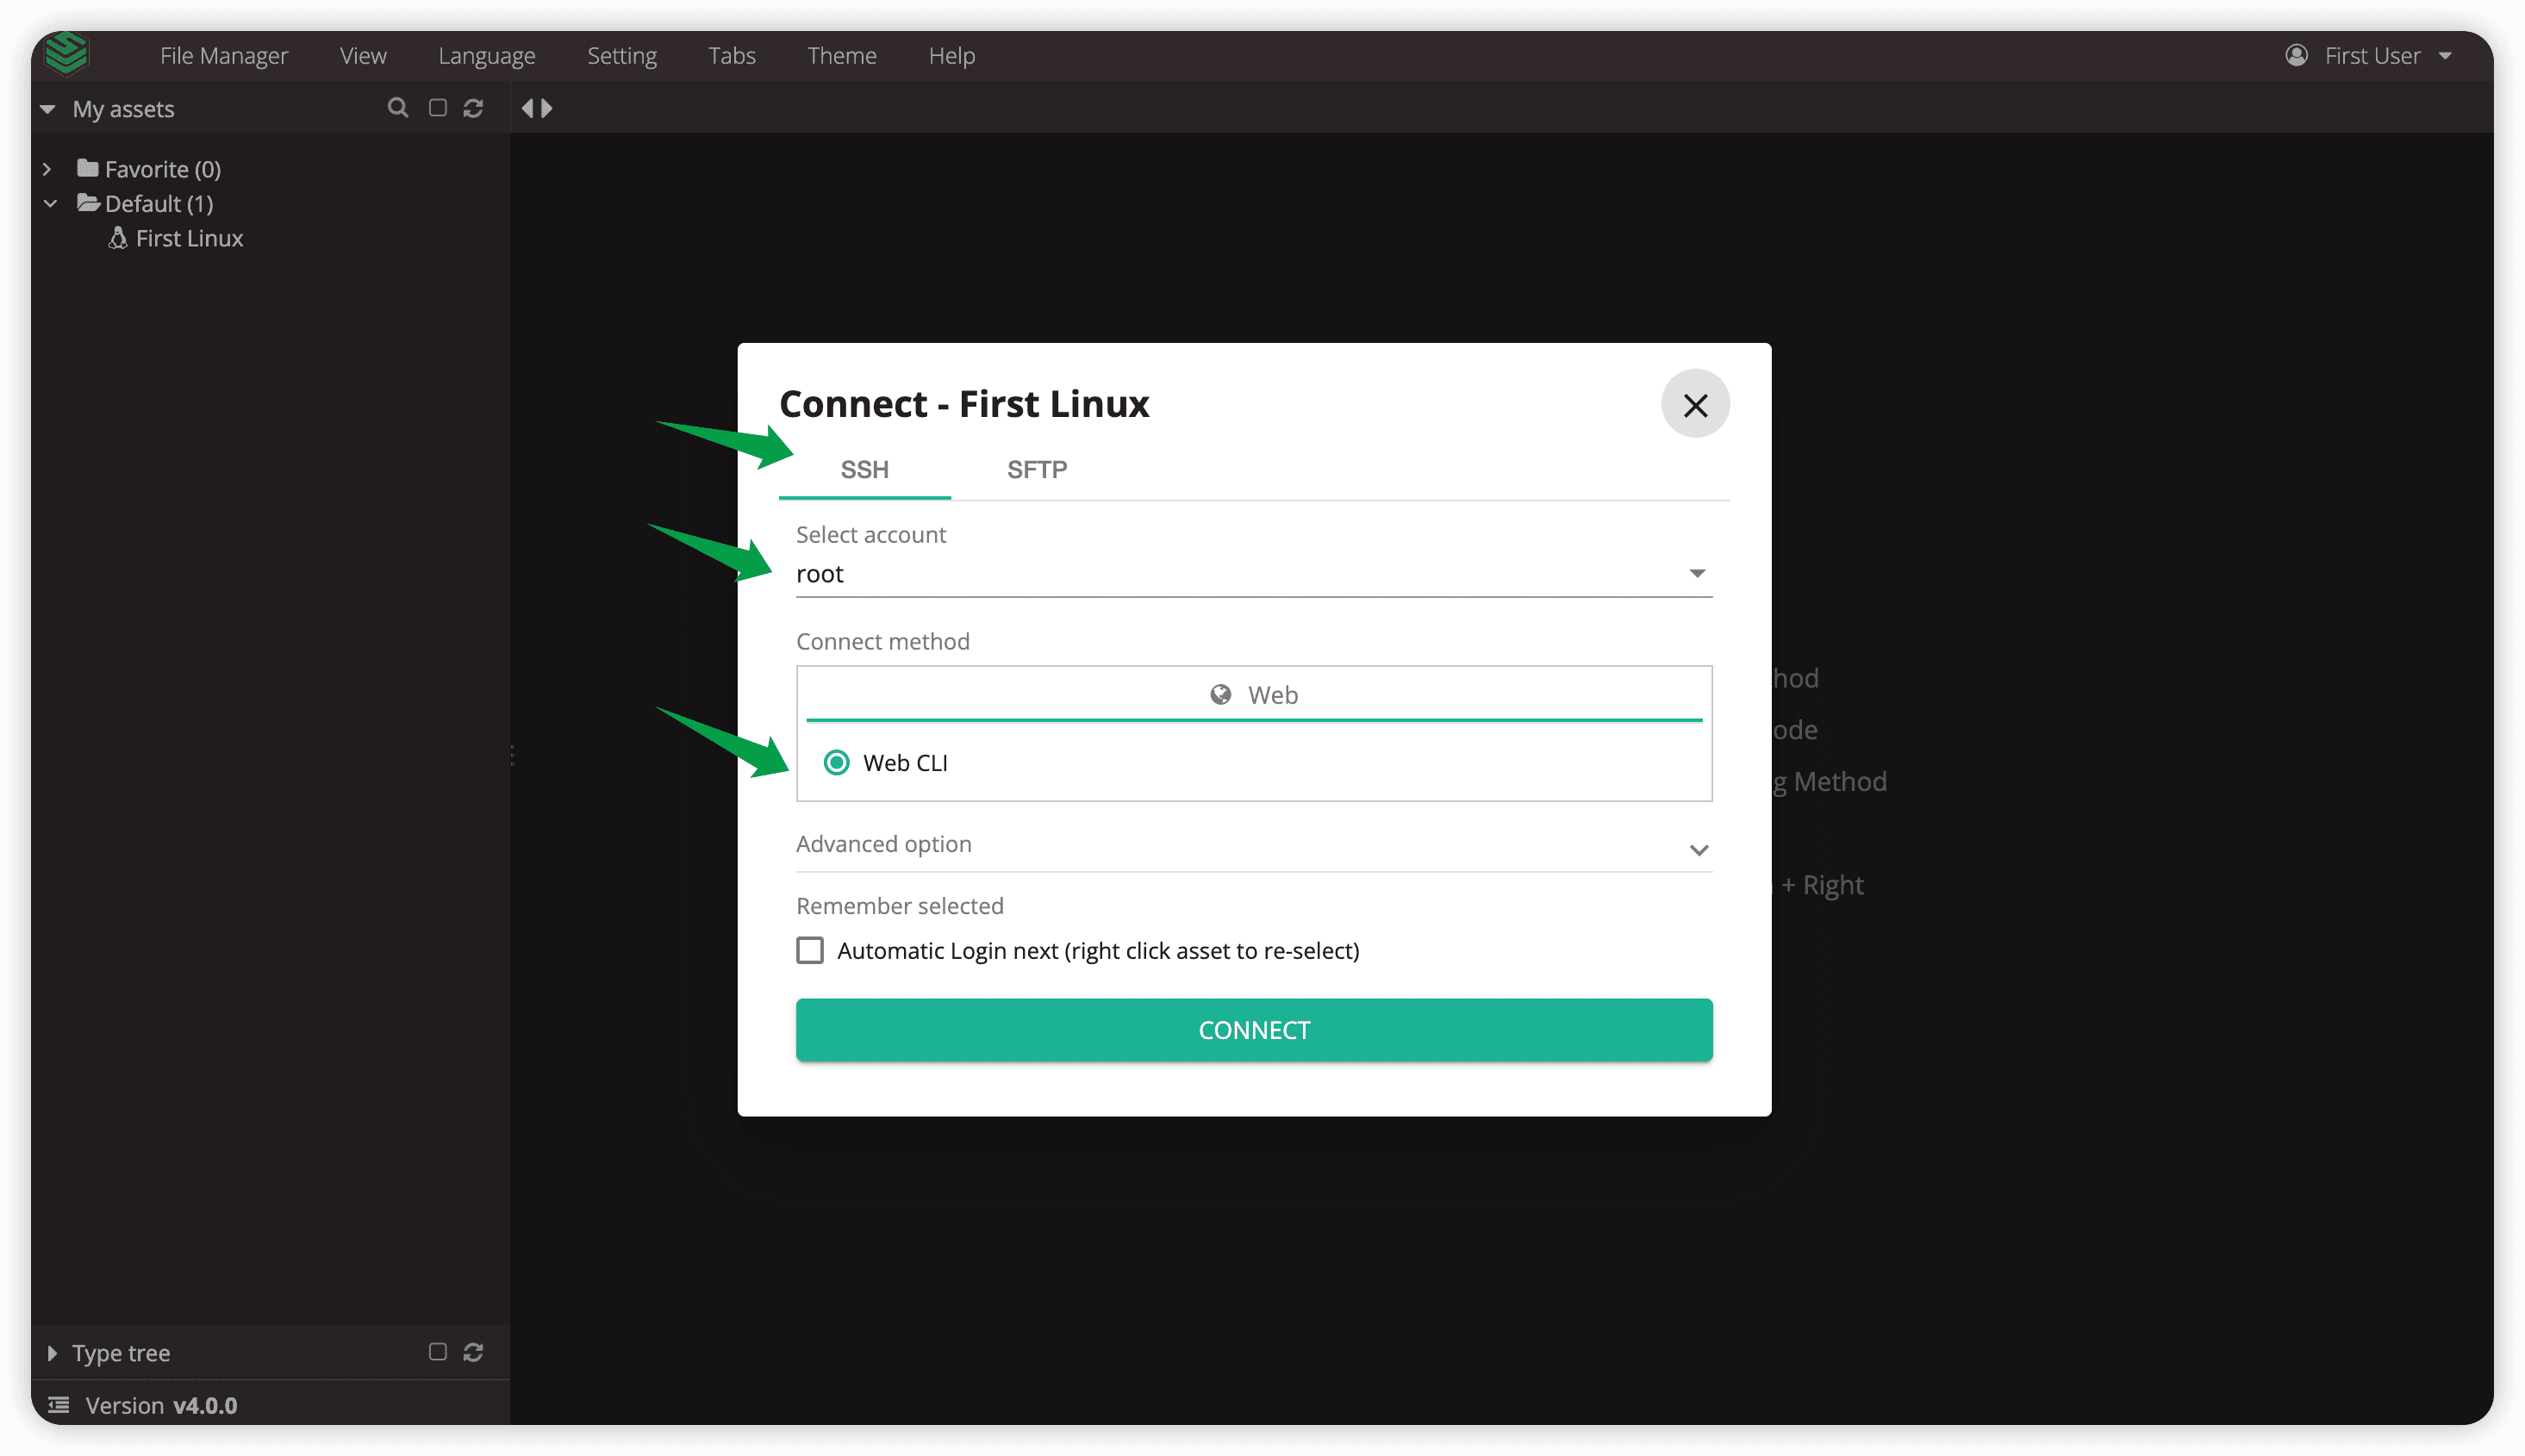
After clicking the asset connection button, a new tab (Web Terminal) will open in your current browser, and the connection information for logging into the asset will also be displayed.
- Confirm the connection information: select
rootas the account and choose "Web CLI" as the connection method.
-
Click the
CONNECTbutton to log in to the asset. -
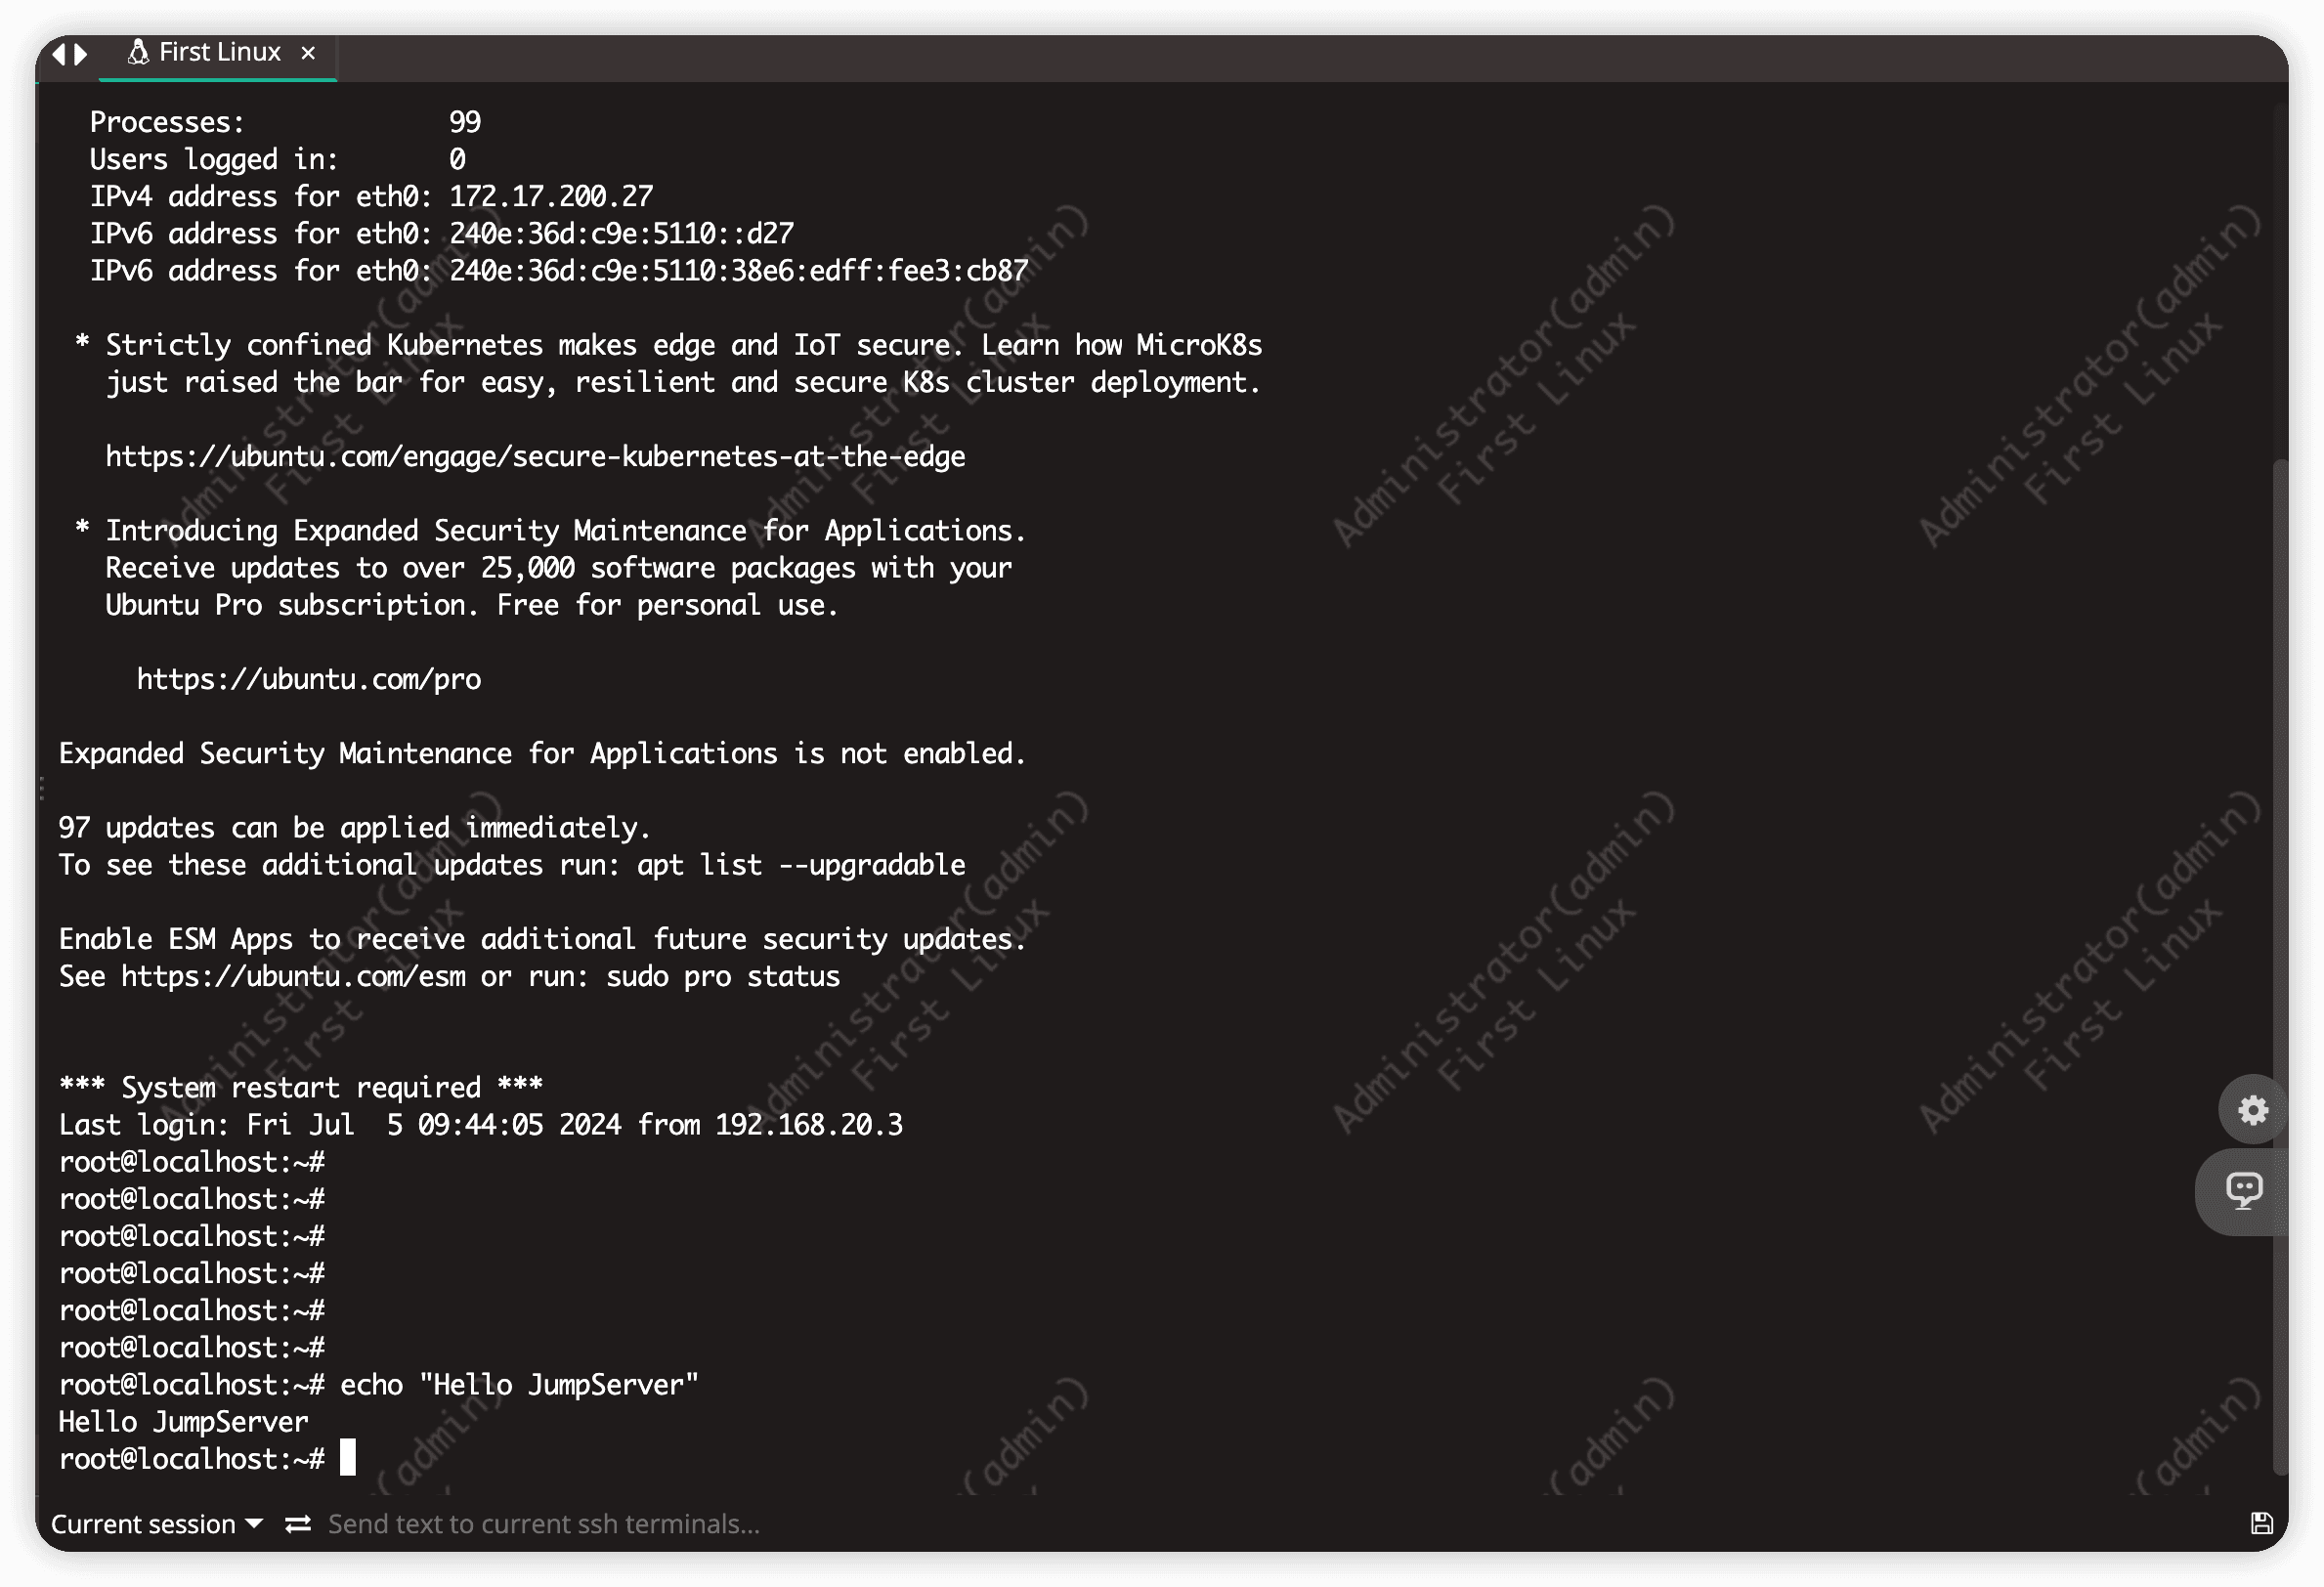
Congratulations, you have successfully accessed the assets you have permission to use.
Audit logs
Next, while keeping the current user's asset session active, let's switch to the Administrator page. Navigate to the Audits to review the actions performed by the current user.
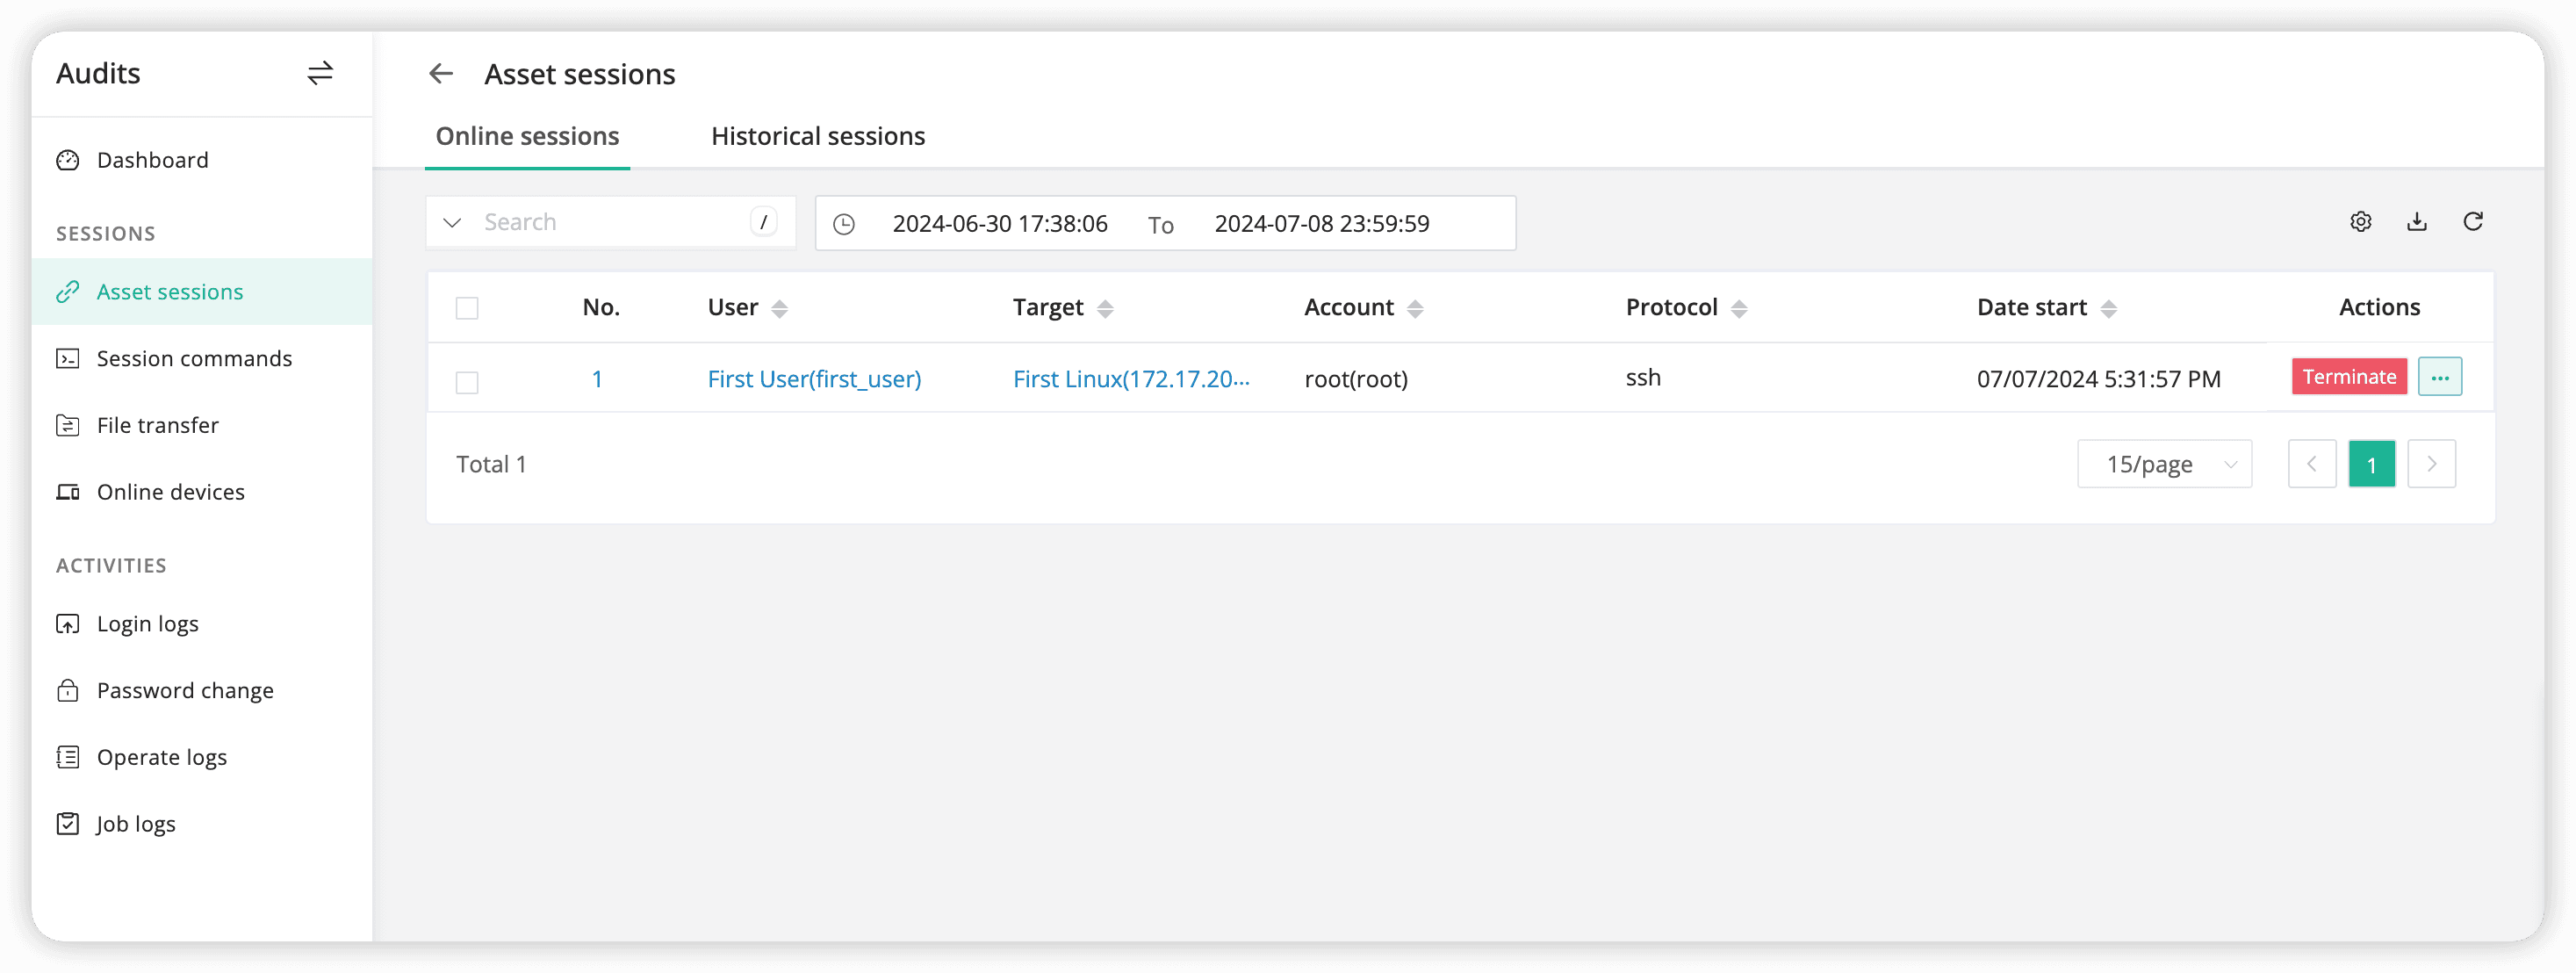
- Navigate to the
Audits > Asset sessionspage.
We observe that there is a session where the First User is connected to the First Linux asset using the root account.
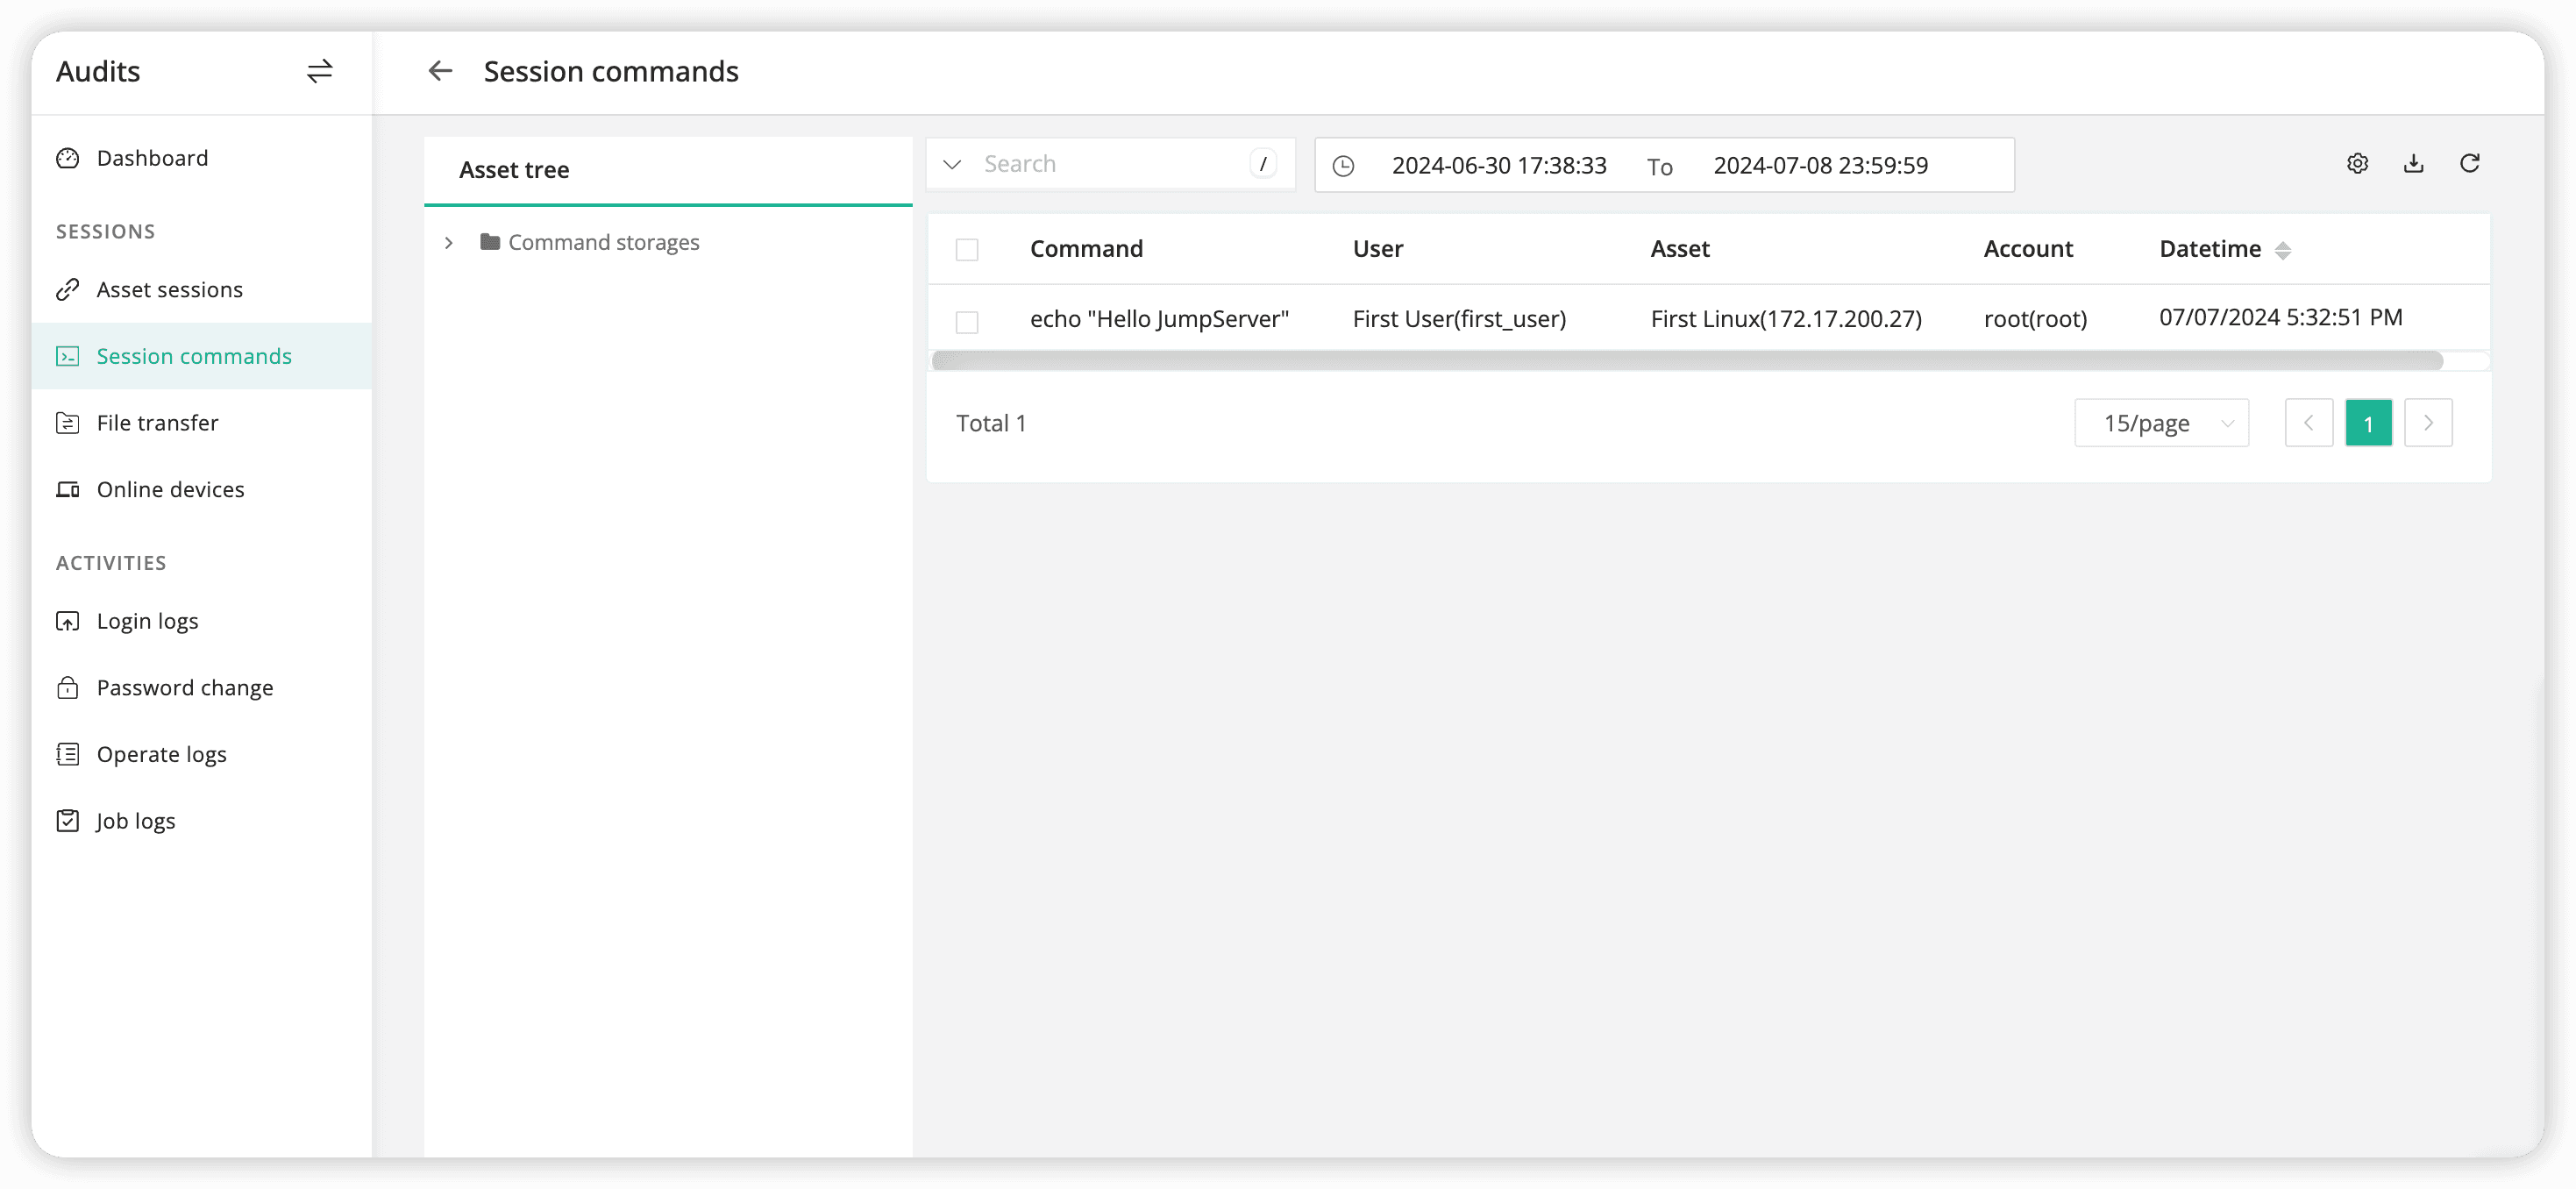
- Navigate to the
Audits > Session commandspage, we can view the commands executed by the user.
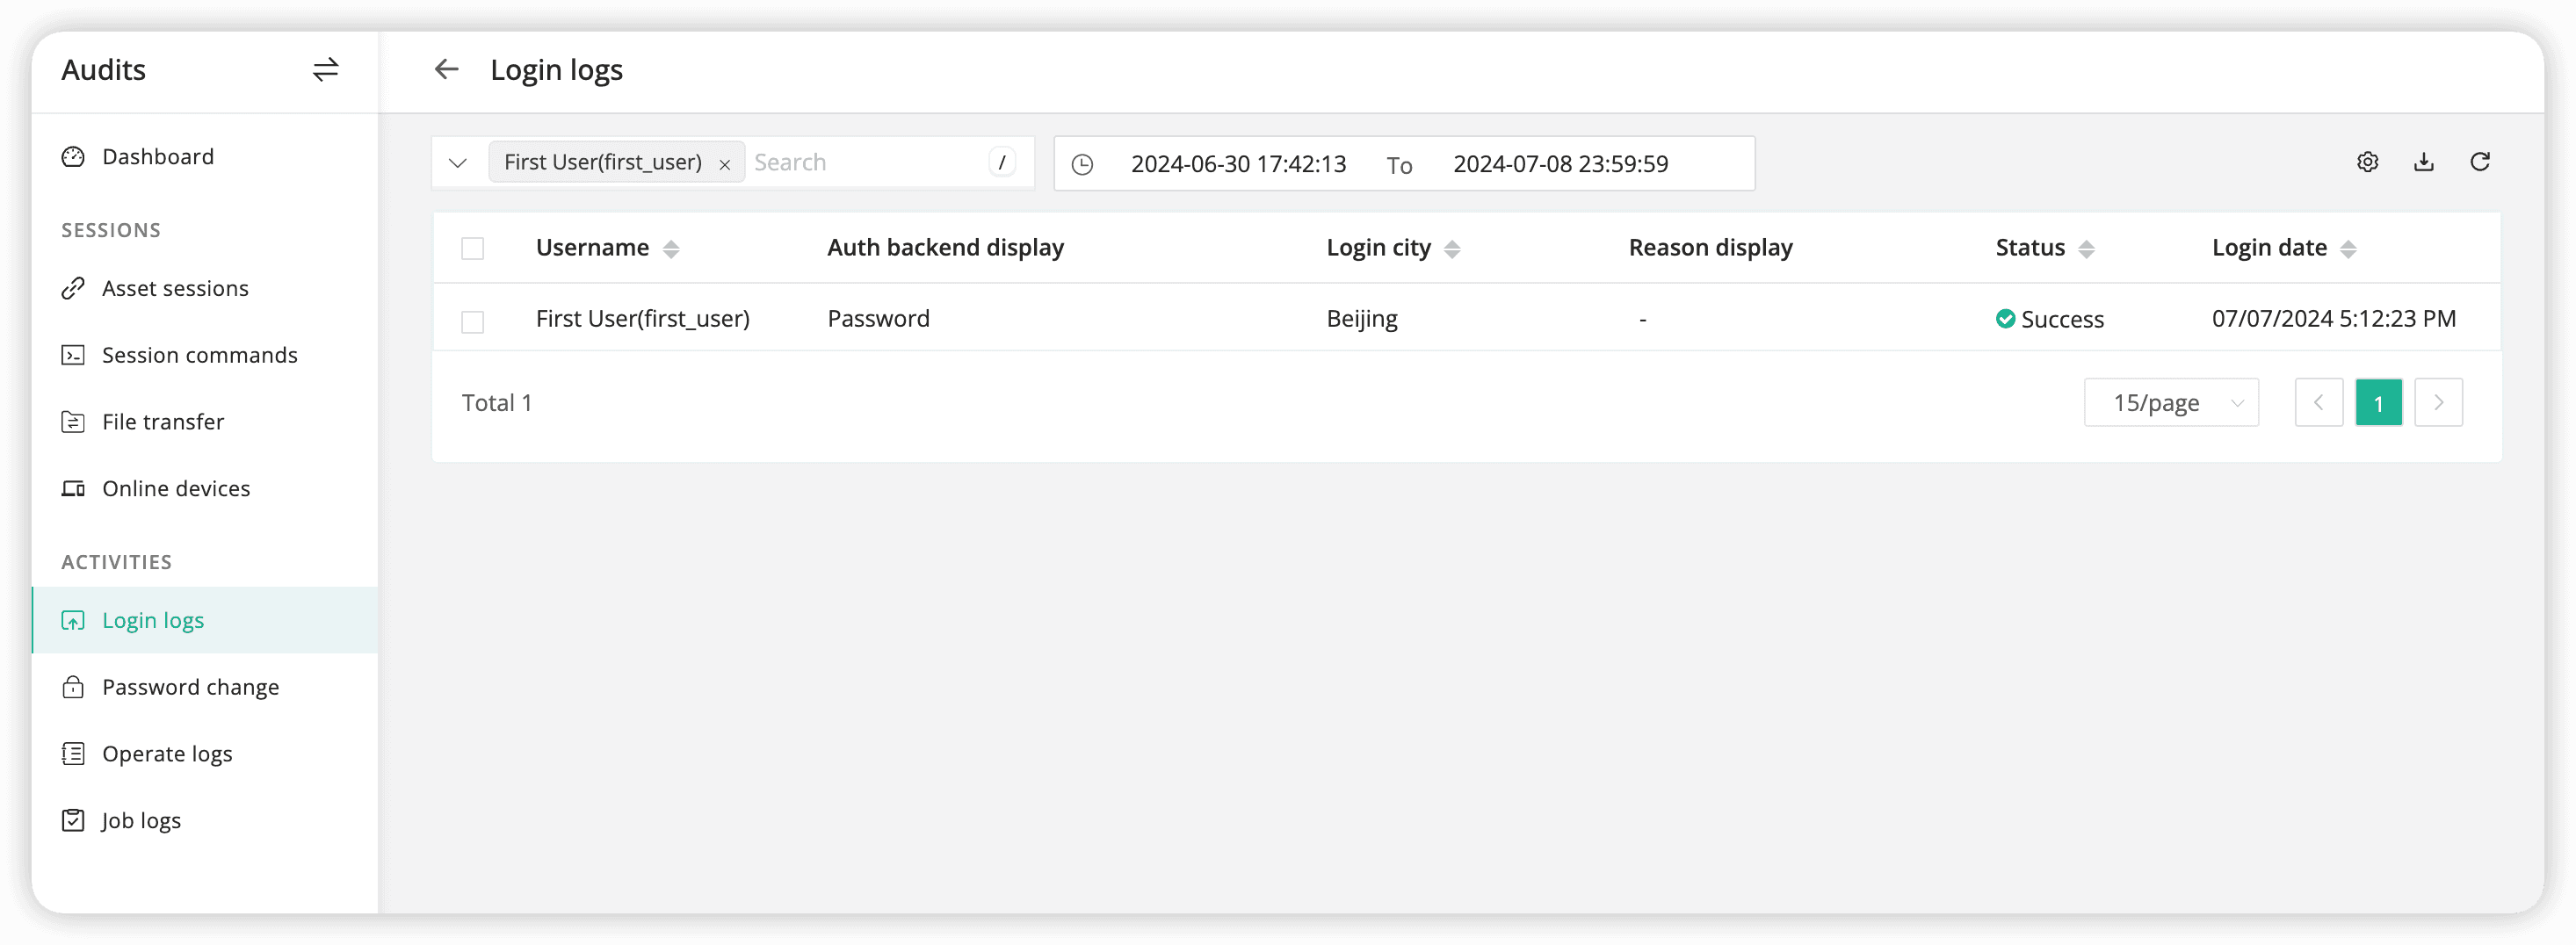
- Navigate to the
Audits > Login logspage, We can view detailed login logs for the user.
Congratulations! Following this guide, you should have successfully installed JumpServer, created users and assets, authorized access, and learned to connect to assets and audit logs.
Next Steps
Regarding more advanced features of JumpServer, it's your turn to explore!
JumpServer documentation is continually being updated. Please stay tuned for more details.